HOWTO: Remove / Disable / Prevent MDM (Mobile Device Management) policies
What are MDM (Mobile Device Management) policies?
Microsoft's Mobile Device Management policies are setup on all machines (campus-owned as well as personally-owned) by default when Office is installed. While these policies are generally reasonable for University-owned computers, they may not be desired on personally-owned computers.
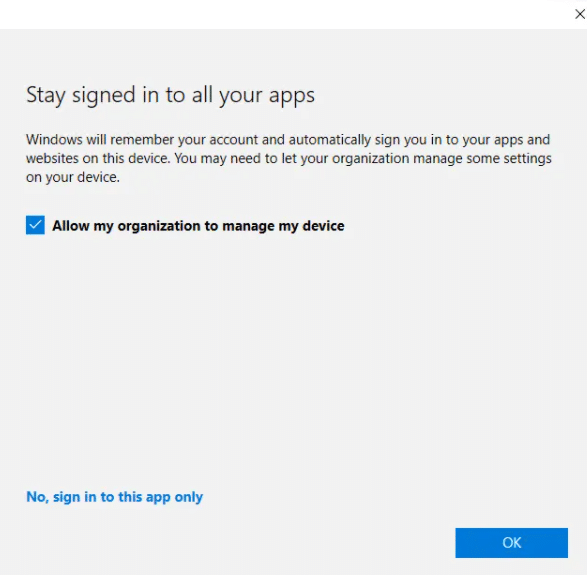
The first time you start an Office application, you're likely to get a prompt to log in with your University credentials. Once logged in, a screen will appear asking you if you want to "Stay signed in to all your apps" (see the window below).
For University-owned machines:
SCS IT recommends leaving the Allow my organization to manage my device option selected and clicking OK. This enables tools to help Tech Services and/or the police to find stolen devices, and if necessary, force a remote wipe of the device which will keep your University data safe.
For personally-owned devices:
SCS IT recommends selecting the No, sign into this app only option. This will prevent the MDM policies from being applied system-wide. Just know that you'll need to repeat this for every Office application that your run.
If you've already enabled MDM on your device and want to disable it:
- Click Start, then search for "Edit Group Policy" or "Local Group Policy Editor"
- Navigate to: Computer configuration > Administrative Templates > Windows Components > MDM > Disable MDM Enrollment
- NOTE: This doesn't remove existing MDM policies, just prevents new ones from being applied
- Remove the "Work or School" Microsoft account (see https://www.onmsft.com/how-to/how-to-manage-personal-work-and-school-accounts-in-windows-10)
The next time you start an Office application, you're likely to get a prompt to log in with your University credentials. Then you'll see a window asking if you want to "Stay signed in to all your apps". Select the "No, sign into this app only" and the MDM policies should not be re-applied.