Zoom, Automated Captioning
Learn how to use Zoom's automated captioning tool to add real time transcriptions to your Zoom Meeting or Webinar.
Client requirements:
Enabling Automated Captions
To enable automated captioning for meetings or webinars you host:
- Sign in to the Zoom web portal.
- In the navigation menu, click Settings.
- Click the Meeting tab.
- Under In Meeting (Advanced), click the Automated captions toggle to enable or disable it.
- If a verification dialog appears, click Enable or Disable to verify the change.
Note: If the option is grayed out, it has been locked at either the group or account level. You need to contact your Zoom admin. - (Optional) Click the pencil icon
 to select which languages you want to be available for captioning.
 - (Optional) Click the
- Click Save to confirm any changes.
*Note: This setting is on by default for users at Illinois, but is not locked. It can be turned off if desired.
Managing Automated Captions
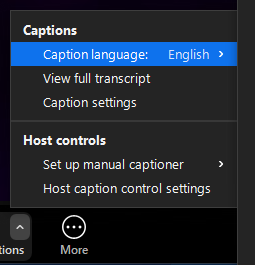
Turn on captions in your meeting from the toolbar menu.

Edit any settings or language options, as necessary.
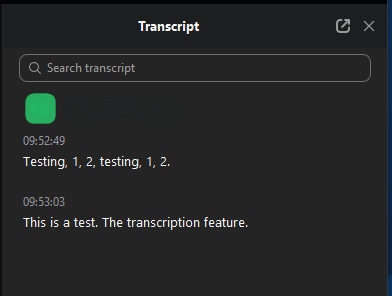
View the transcript in real time on the side bar by selecting View Full Transcript, and even save it for later at the bottom.