Lecture Capture, Manual recorders
Directions on the use of the Extron SMP 351 to record in a classroom
Manual recording with Extron SMP appliances
The following will guide you through the use of the Extron SMP recording appliance for manual recordings. Please check out the following KB article for more information regarding scheduled lecture capture, Lecture Capture, Equipped Rooms.
The following assumes you have a basic understanding of how to operate the AV system in your classroom. Please see the Technology Enhanced Classrooms Building List for information about classroom systems. Please note there is not an option to connect your own camera nor is this device configured for live streaming.
The basics
- The Extron SMP 351 appliance is set to record audio from the room (microphone audio) and will record what is projected in the room (PC, laptop, DVD, document camera, etc).
- There is no camera connected to the capture appliances at this time.
- Even if you mute the projector in the room, the box will record the selected source.
- Files are recorded as 720p (1280x720) .mp4 files, with the projector view filling the screen. Files are recorded at 2Mbps (so 1 hour of recording will consume ~900 MB)
- You MUST bring your own USB key to record. There is internal storage on these devices but an administrator will need to offload the files.
- After class you will remove the USB key and then upload it online. (Kaltura, Uploading media )
- You must use the microphone if you want your voice recorded.
- Your USB drive must be formatted as FAT32. (How to see if your drive is FAT32). This may not be an issue for you, but we recommend you check.

Operation
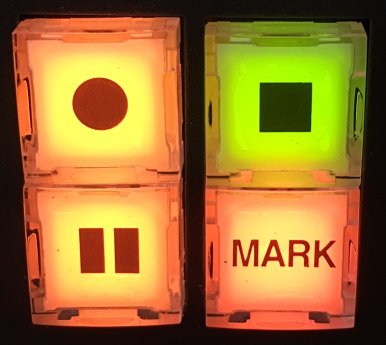
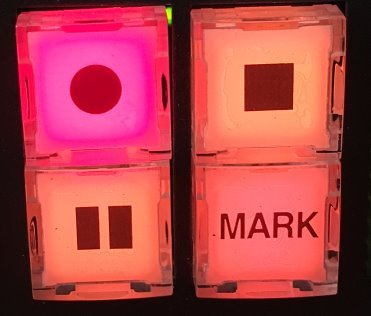
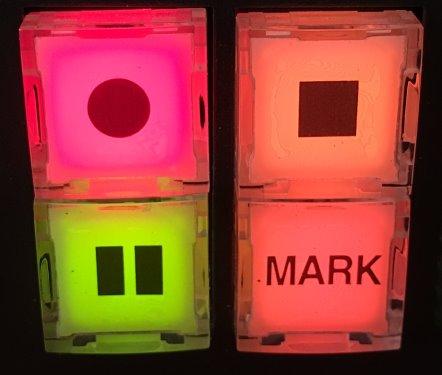
1. Turn on the classroom AV system and connect/select the source you wish to project and record.2. Insert your USB drive into the USB slot.3. Find the recording controls, there are 4 buttons that look like this. The solid square is the STOP button, and will be lit green when the device is ready to record.4. When you are ready to record, select the Circle button on the upper left of the panel. The REC button will light in RED.This device is recording content.- You may pause the recording (2 vertical marks) at any point, but you will need to unpause it to continue. If you pause the recording the pause button will light up in GREEN.(None of the other front panel buttons should be enabled so you may ignore them.)- When recording you should see a green level bar on the LCD display, indicating an audio source is present. It may not lower and raise based on the volume levels, so don't worry if you don't see it change.5. When you are done recording, hit the STOP button (right side, with the square). DO NOT immediately remove the USB drive, if you do, the recording will not be usable or recoverable. The device will NOT tell you it is safe to remove. (This process may take 1-2 minutes after you hit stop.)
The front panel of the SMP 351 is locked down so that only the recording controls may be used. The other controls are locked out to prevent changes to the recording configuration. You may see RECORD CTRL ONLY ENABLED on the lcd, indicating this is the case. Additionally the MENU button may flash or show RED if someone has attempted to push the other buttons or adjust the controls. You can ignore the menu button if it is red.
After the recording
Now that you have the recording, you have options just like any other video file. You can edit the file using a video editor, or post it online. Kaltura is the preferred method for posting instructional content at Illinois because you can secure it to campus users and protect intellectual property.
Kaltura is an easy to use video system, similar to YouTube. You can access it from Compass2g, Moodle, or Illinois MediaSpace at http://mediaspace.illinois.edu
The Knowledge Base has many articles related to Kaltura including:


