Learn@Illinois Moodle - Using the Quickmail Block to Email Students
Learn how to use the quickmail block to send emails to groups of students within the class.
For a permanent link to this information, please use: http://go.illinois.edu/MoodleQuickmailBlock
Adding the Quickmail Block
If you do not see a Quickmail block in either the left or right column of your course site after scrolling all of the way down, add one.
-
In the upper right corner, enable editing with the Edit mode toggle button.
- In the block drawer on the right, click Add a block.
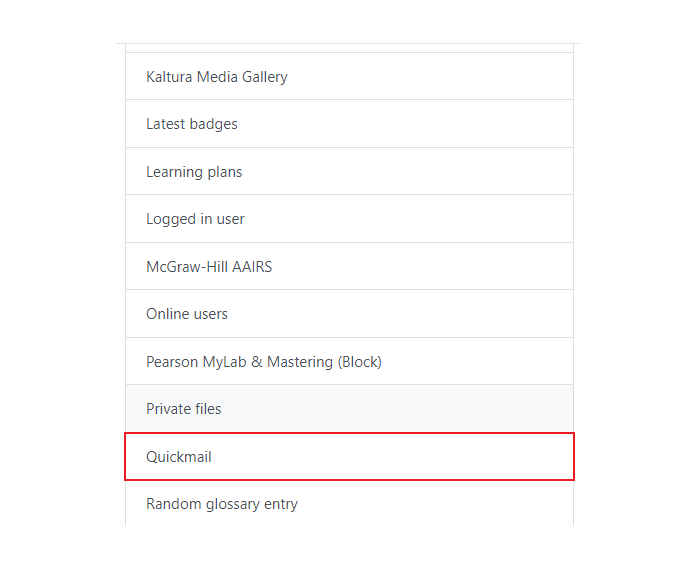
- Scroll down and select Quickmail.
Composing and Sending Emails
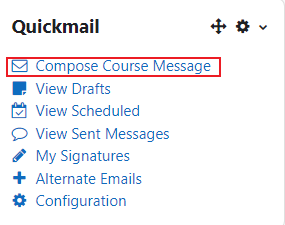
- In the Quickmail block, click Compose Course Message.
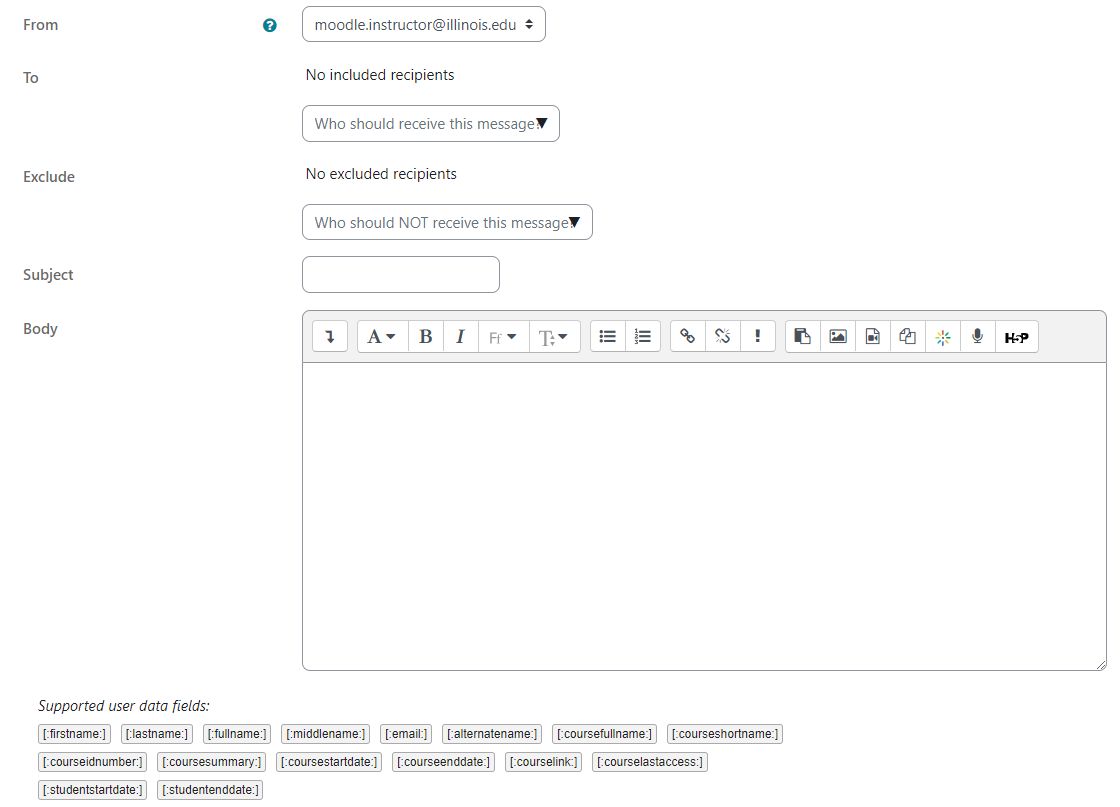
- In this screen, you can select the email address the message is sent from, as well as specific groups who will receive this email and/or be excluded from this communication.
You may also personalize the email with data fields such as [:firstname:] (listed below), which will display the student's respective name, and add attachments by dragging and dropping. - You can add a signature, schedule your email to send at a future date and receive a "send report" of your email and who received it.
Note: We recommend always sending your message as an Email (and not as a Moodle Message) and receiving a send report. - Click Send Message.
Viewing Drafts
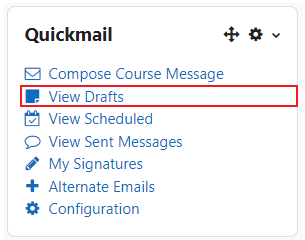
- In the Quickmail block, click View Drafts to access draft emails. The emails will appear in a list.
- In this screen, you can edit, duplicate, or delete your draft.
Create or Edit Email Signatures
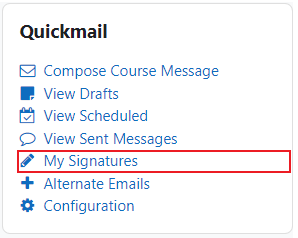
- In the Quickmail block, click My Signatures.
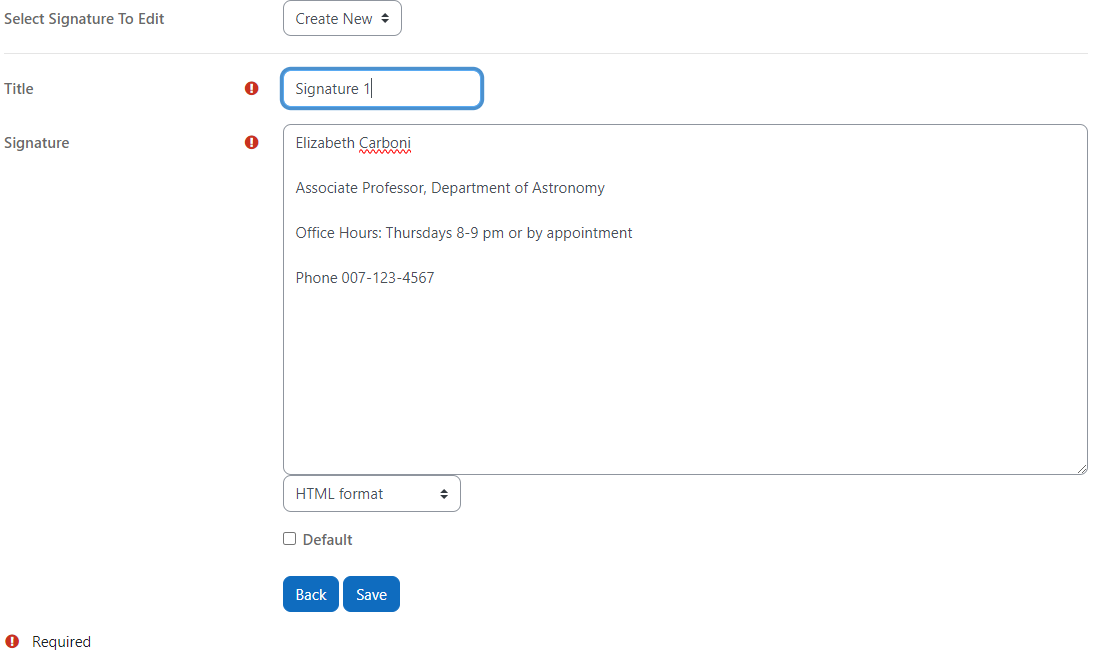
- Leave the drop-down to "Create New" to create a new signature or select the signature that you would like to edit.
In the "Title" field, enter a name for your signature, type in your signature, make it default if you wish, and click Save.
Use Alternate Email Addresses
This feature may be helpful if you would like to create a new email address for all TAs in a course, for example, and then have students reply to that email address when they receive emails from Moodle.
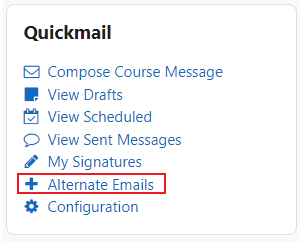
- In the Quickmail block, click Alternate Emails.
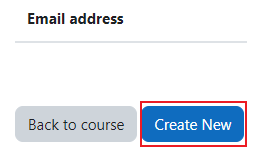
- To create your first alternate email address, click the Create New button.
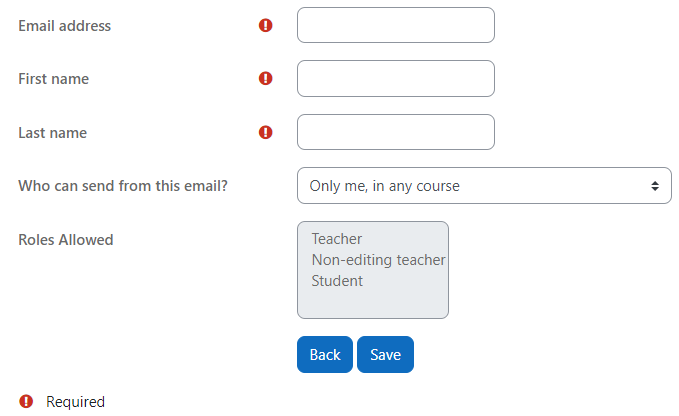
- Type the alternate address into the "Email address" text box, the sending First name and Last name into the "First name" and "Last name" text boxes, and click the Save changes button.
- A list of alternate emails and their activation statuses will be displayed. In the "Actions" column, you can click on the options to delete the alternate email addresses or re-send the confirmation email.
- To complete the verification process so you can begin using your alternate address, open the email sent to your alternate account and click the verification link.

- The activation status will be changed to "Approved". To add another alternate email address, click create new at the bottom of the page and repeat the steps above.


