Learn@Illinois Moodle - Adding and Removing a Course Dashboard Image
Learn how to add and change the image that appears above your course on the Dashboard. This is visible to both you (instructors) and students.
For a permanent link to this information, please use: https://go.illinois.edu/MoodleCourseImage
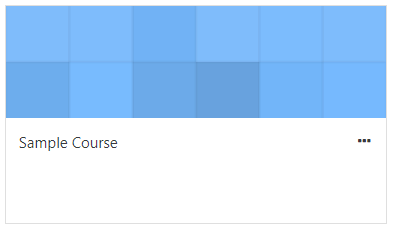
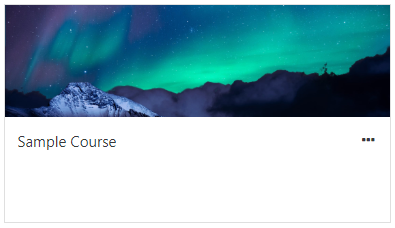
Before and after adding a course image:


Adding a Course Image
- Find an uncopyrighted image on Wikimedia Commons or another site (or use your own!).
- Make sure that you are on your course homepage.
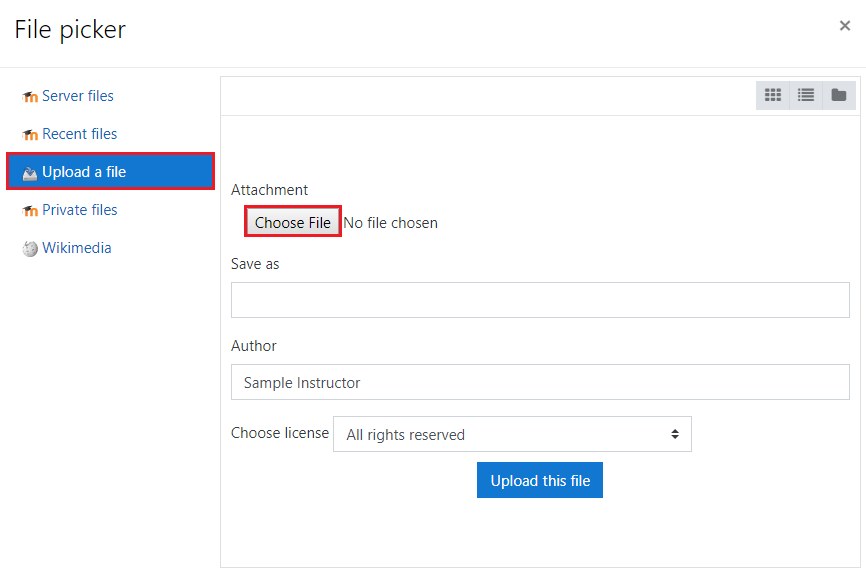
- In the upper right corner, click the Actions menu gear.
- From the drop-down menu, select Edit settings.
- Scroll down to "Course image" and click the Add page icon.
- Click Choose File.
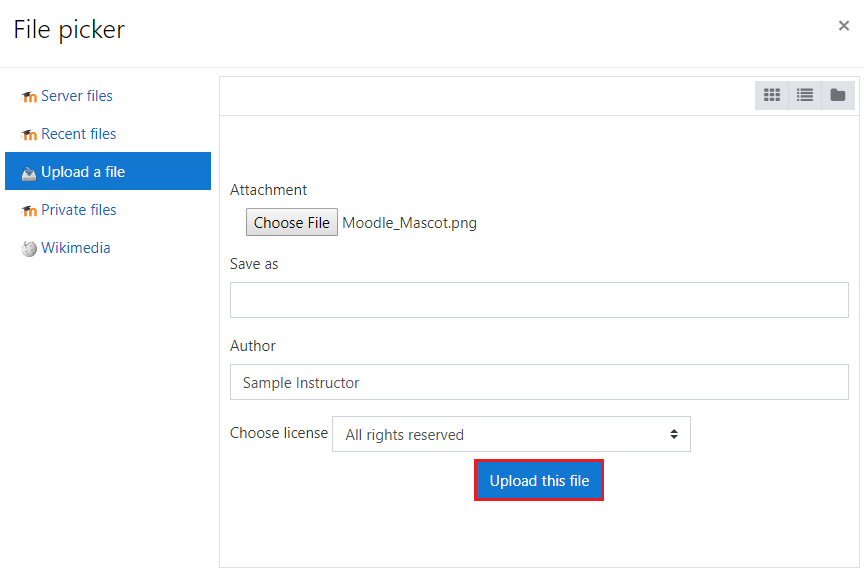
- Select the desired file from your computer, then click Open.
Note: Make sure that the file is a .gif, .jpg, or .png. - Click the Upload this file button.
- Scroll to the bottom of the page and click Save and display.
- Check that the image has uploaded by returning to your Dashboard (learn.illinois.edu).
Removing a Course Image
- Click the Actions menu gear.
- From the drop-down menu, select Edit settings.
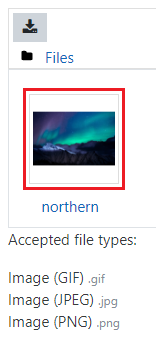
- Scroll down to "Course image" and click on the image.
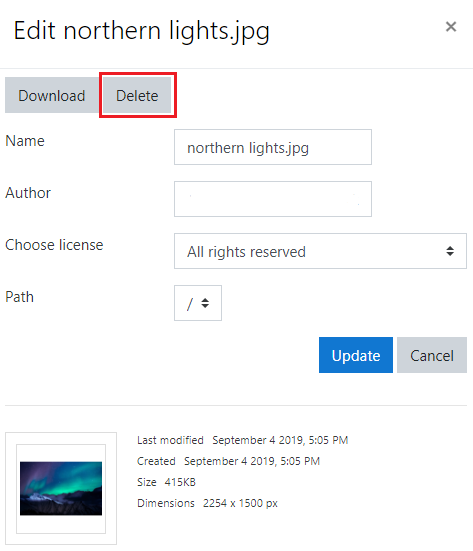
- Click Delete.
- Click OK.
- Scroll to the bottom of the page and click Save and display.


