HP Scan, How to Scan Documents for the VITA Tax Program
On the university laptop, open the HP Scan program from the taskbar icon.
Place the document on the scanner glass, aligning it with the top-left corner. Make it as straight as possible.
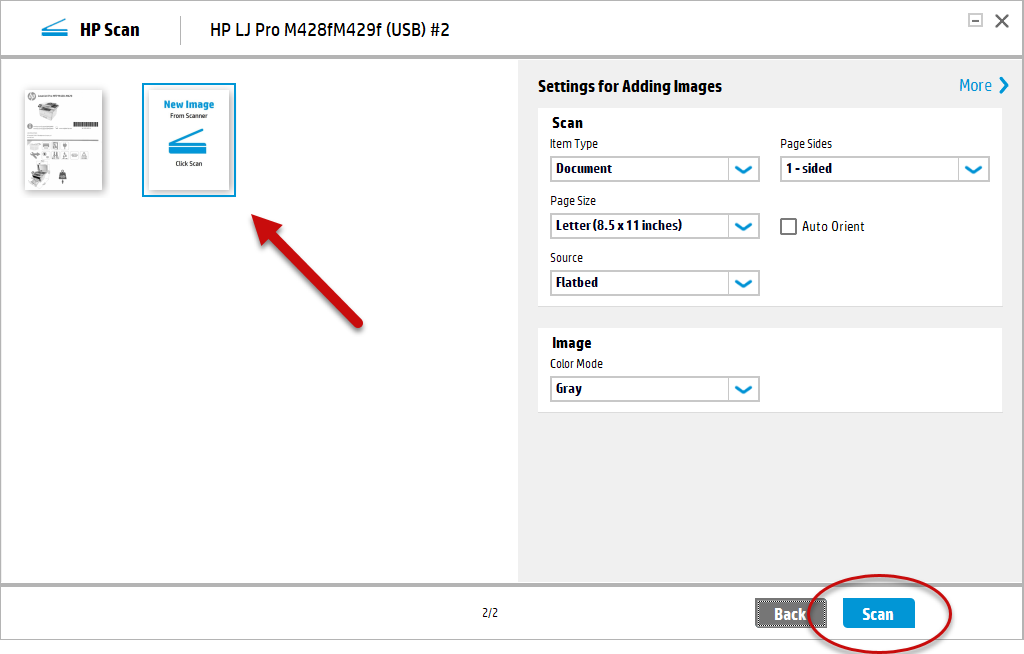
In HP Scan, click the "Scan" button.

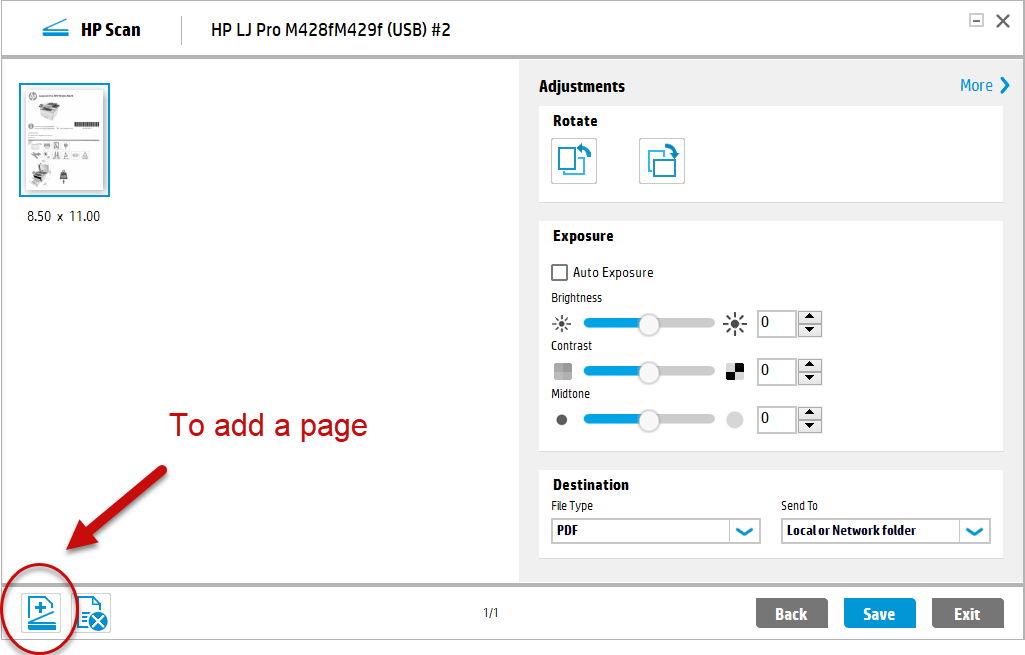
To add another page, first place the next page on the glass, then in HP Scan, click the "Add Page" button.
Click the "Scan" button to scan the next page.
Repeat Steps 4 & 5 until all pages have been scanned.
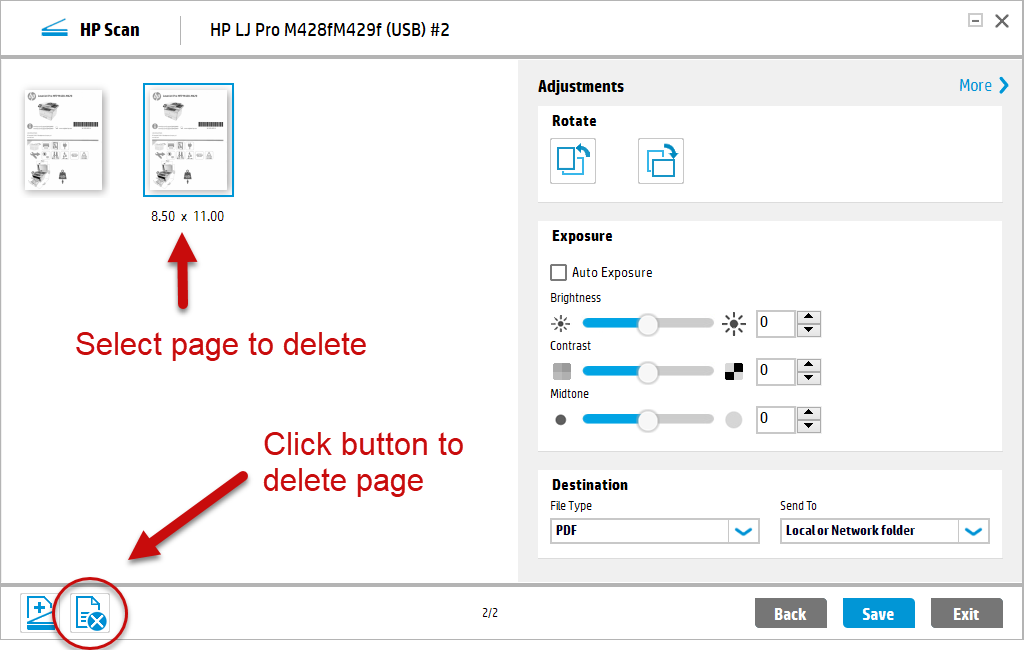
Note: if a scanned page shows as crooked in the preview window, select that page and click the "Delete Page" button, then repeat Steps 4 & 5.
Once all pages have been scanned, click the "Save" button.
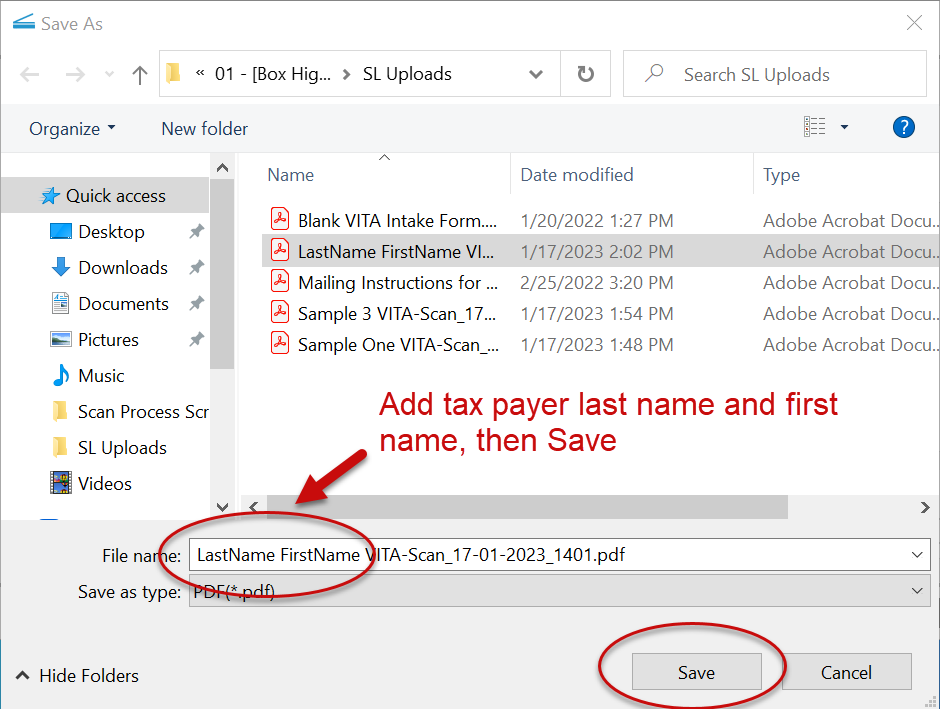
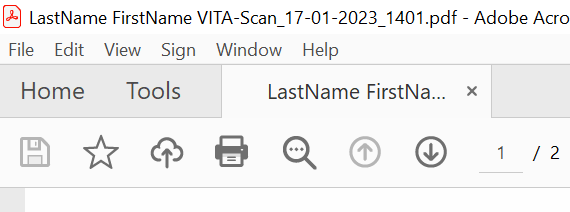
When prompted to save the scan, add the taxpayer's Last Name and First Name to the filename and then click "Save."
The scanned document will open in Adobe Reader.
Review each page for legibility, pages out of order, or missing/cut-off sections, then close Adobe.
Remove the pages from the glass and return them to the taxpayer.
Close HP Scan with the "Exit" button.
Note: If anything needs to be re-done, alert the coordinator to delete the PDF and start over from Step 1.
Start over from Step 1 for the next taxpayer.

