ClassTech, Mersive Solstice Configuration for IT Pros
Set Up and Configuration:
Setting up and configuring Solstice pods on campus should be done through the free software provided by Mersive, the Solstice Dashboard (Windows only).
The software can be downloaded from the following page: https://www.mersive.com/thank-solstice-dashboard/
Only enterprise model Solstice pods will work with the Solstice Dashboard.
Before adding units to the Dashboard, register them in IPAM with reserved IPs on a public mobilestream network.
To add a unit to the Solstice Dashboard, do one of the following:
- Click Manual from the left hand pane
-
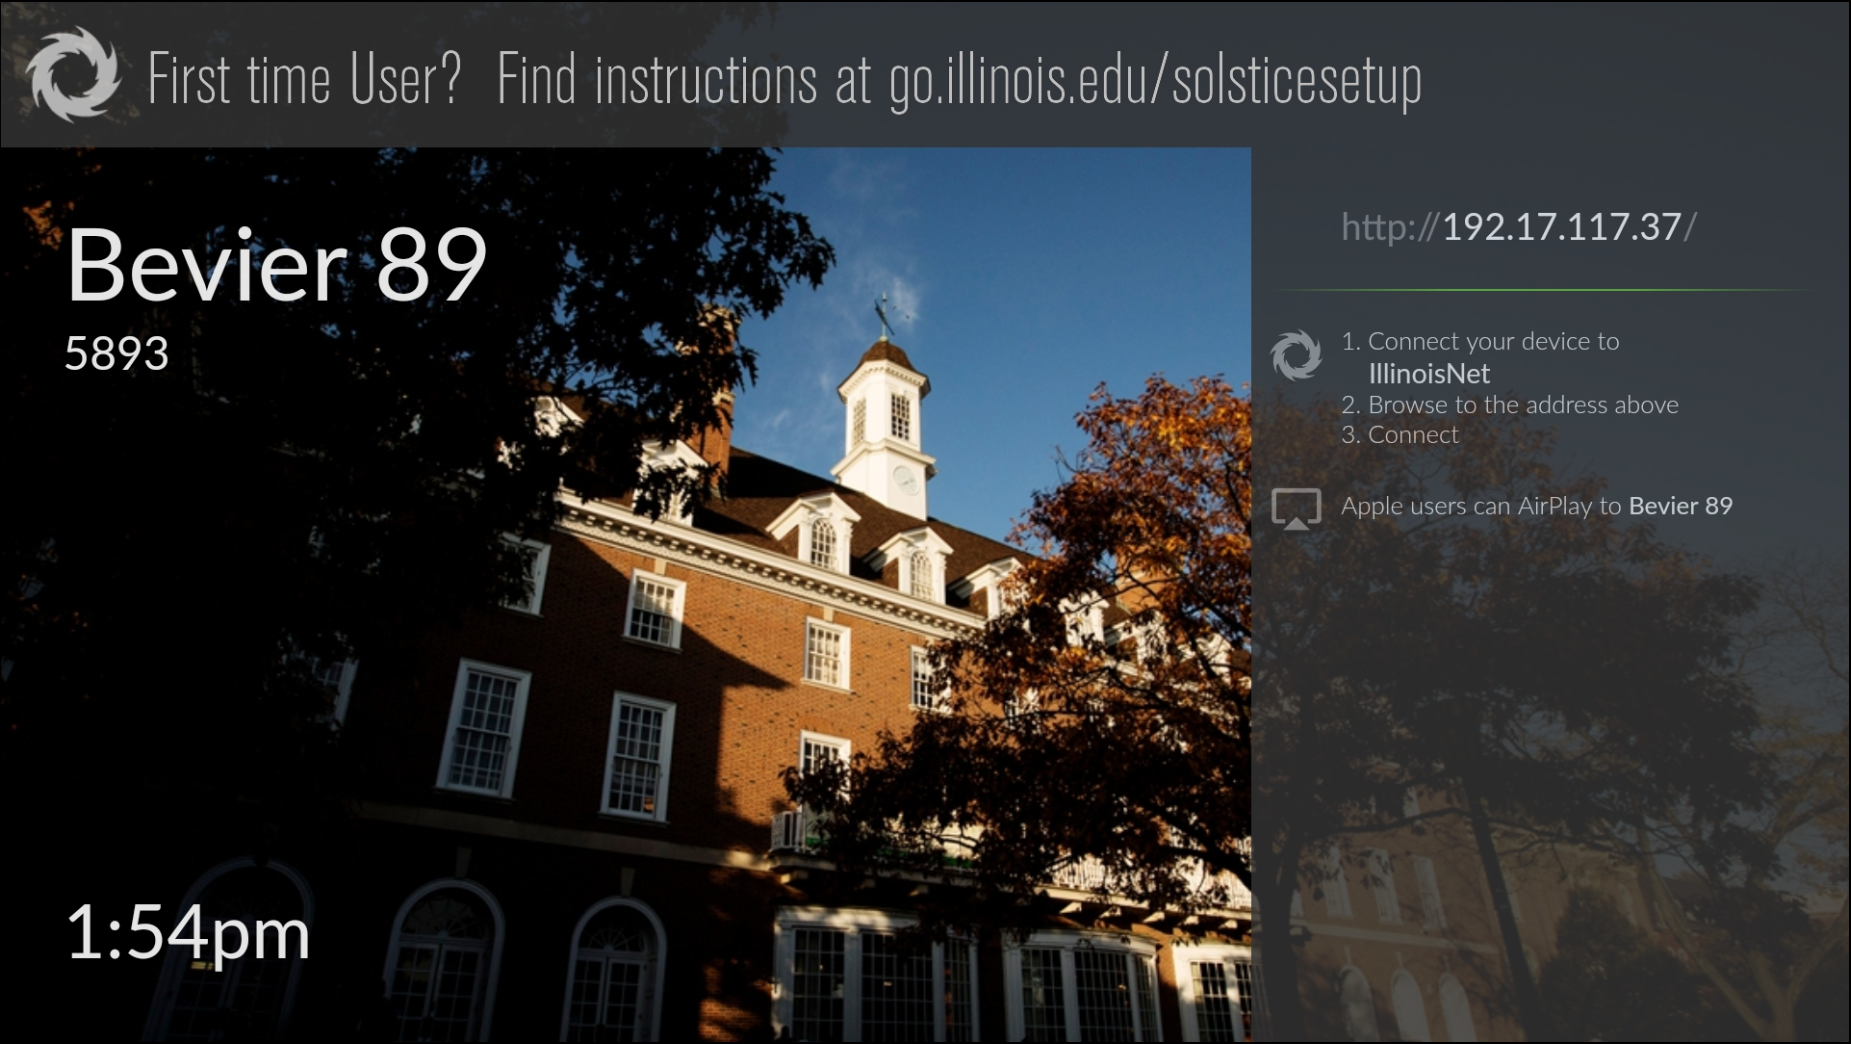
- For Display Name, add a user-friendly name in the format Building Room#, e.g. Bevier 89
- Enter the IP Address of the unit
- Keep the Port the same, 53100
- Click Add
OR
- Click CSV File from the left hand pane.
-
- Create a CSV file of the format <display name>,<IP address>,<port>
- We suggest adding a fourth column <MAC address> for your own records since there is no way to bulk export that field later
- The <port> field should always be left at 53100
- Select the file in the Dashboard pop-up and click open.
- Create a CSV file of the format <display name>,<IP address>,<port>
If a unit in the Dashboard changes IP addresses, the Dashboard will automatically update the device in the Dashboard to have the new IP. Once all units are added, the following changes can be made through the dashboard in bulk, except for the bullets listed as (individual units).
Solstice is not supported on Linux.
Recommended Configuration Changes to Mersive Solstice Units:
- Appearance and Usage Tab
- Appearance:
- For Display Name, add a user-friendly name in the format Building Room#, e.g. Bevier 89, which will help users clearly identify the Solstice on their clients and also distinguish the device from others across campus.
- Use Modern Splash screen
- Add custom Backgrounds
- Disable Display Name and Screen Key from Presence Bar, then uncheck Presence Bar
- The presence bar will pop up when someone connects anyways
- Usage & Features:
- Disable Application Window Sharing, Video Files, and Images
- Change Client QuickConnect Action to the SDS option
- Leave enable AirPlay discovery proxy unchecked.
- Appearance:
- Network Tab
- Change Network Name in Ethernet Settings to IllinoisNet (individual units)
- Disable Wireless (individual units)
- Enable List display to Solstice Discovery Service
- Add the SDS server IP to SDS Host 1
- solsticesdsprod.virtual.illinois.edu for main campus instance
- Add tags for department (blue), GA/Dept. (red), building (green)
- Add in this order and with these colors (largest -> smallest groups)
- Click Apply
- Security Tab
- Add an admin password
- Disable Allow Local Configuration
- Enable Allow Browsers to Configure Pod (enterprise only)
- System Tab
- Change Time zone
- Change hostname to MAC address of units for ease of use (individual units)
- The pods do not have the MAC address printed on them
- Change Time server to Ntp.illinois.edu
- Message Center Tab
- Disable solstice wireless display messages
- Enable Custom Message
- Include link go.illinois.edu/solstice, KB article ClassTech, Mersive Solstice, How to Use with instructions
Updating the Firmware:
- Make sure to have Solstice Dashboard installed and have all the units you are managing added to it.
- Open up Solstice Dashboard and ensure all units that need updates are visible and online.
- If you are unsure if there are updates needed, check mersive.com for the latest news and subscribe to av-pros listserv to receive campus updates on AV.
- Go to the Licensing tab at the top of the Dashboard.
- Make sure Use Internet for upgrades is selected in the dropdown and click on Check for Updates.
- The Dashboard will take a few minutes to update the licensing status on all online units.
- Sometimes you may have to run the check twice to get all the units to show the latest status
- Select all the units that show updates are available and click Install Update at the bottom of the page.
- Wait for the units to go offline and come back online after the update.
- The header in the left hand pane for the device will show which version it is on once it comes back online.
- Double-check to make sure this matches the latest version

