Technology Services Wi-Fi Help Portal-Illinois Faculty, Staff and Students-IOT
This page is to help configure your various IOT devices to our Wi-Fi networks. Please browse the guides below and follow the instructions. If you do not see instructions for your specific device, please contact the Technology Services IT Service Desk and we will work on getting it documented correctly. Please remember that most of these devices will only be valid for 1 year, after which you will need to renew (by removing and re-adding) them on the device registration page located here
Amazon Alexa Echo Family (With No Screen) (For Example: Amazon Dot)
- Download the Alexa App onto your mobile device and verify that it is updated.
- Open the App, the first screen you see should be instructions to configure your Alexa device. If not, you might have to find the setting inside the APP to configure a new device
- Put the Alexa into setup mode
- Connect your mobile device to the Alexa device (the Wi-Fi network should be something similar to Amazon-XYZ#)
- Return to the Alexa app and you should be at a screen that lets you choose a new network and lists the device's MAC address
- You will need to use that MAC address and register it so it can connect to IllinoisNet_Guest. The website is located here: go.illinois.edu/illinoisnetdevices
- Once your device is registered select IllinoisNet_Guest on your mobile device. Complete the setup process
- The Echo should now be connected to the Wi-Fi network and have network communication.
Amazon Alexa Echo Family (With Screen) (For Example: Amazon Fire Stick, Amazon Show)
- Unbox and Power on your Alexa Device
- Find the MAC address of the device. This can usually be found on the packaging or the device itself. In some cases you will need to find this on your set up screen.
- You will need to use that MAC address and register it so it can connect to IllinoisNet_Guest. The website is located here: go.illinois.edu/illinoisnetdevices
- Once your device is registered, go back to the Alexa device and follow the rest of the on screen instructions. You will need to tell the device to connect to the Wi-Fi Network called: IllinoisNet_Guest.
- The deviceshould now be connected to the Wi-Fi network and have network communication.
Chromecast/Google Home/Google Home Mini
- Before you connect your Chromecast, make sure you download the configuration tool for the system you are using to configure your Chromecast (https://www.google.com/chromecast/setup/). If you are on Windows or Mac, you will need a Chrome browser, if you are on IOS and Android you will need the App.
- Due to the nature of Chromecast, when you perform the initial setup, both the Chromecast and the system you are using to set it up with must be registered in the device registration system. You will need to enable the optional Airgroup setting. If you need help finding your Chromecast MAC address, you might need to download the Chromecast application (https://www.google.com/chromecast/setup/) first and connect to your Chromecast.
- The MAC address usually appears in the setup process; then register it on the device registration page located here: http://go.illinois.edu/illinoisnetdevices.
- When you turn on your Chromecast, it will start to broadcast an SSID, usually starting with “chromecast”, followed by a set of 4 numbers.
- Connect to this SSID and follow the on screen instructions.
- Be sure to connect your Chromecast to “IllinoisNet_Guest”
- Once the setup is complete, unregister the system (phone or computer) you used to configure your Chromecast in the device registration system and reconnect it to IllinoisNet. Your phone or laptop that you wish to cast to your Chromecast, can and should be connect to IllinoisNet while your Chromecast is on IllinoisNet_Guest. The Chromecast does not need to be on the same network as your system after registration is finished.
Apple Watch
- Make sure you are upgraded to the latest version
- Open the Settings App on your watch
- Tap Wi-Fi and select IllinoisNet when it appears
- Use the Scribble Pad to input your NETID and password
- Tap Join when you are done.
Apple TVs
If you are a staff member on campus, and you are configuring an Apple TV to be used in conference room of a collaboration space, please see the "Additional IT Pro" Section of this KB. It would be advisable to use either an operator level account or configure a wired connection utilizing mobile stream. Please contact us if you have any questions.
If you are faculty/staff or student setting up an Apple TV for personal use, please follow the instructions below:
- Hook up your Apple TV to your TV and turn it on
- Go to Settings and then scroll down to Network
- At the bottom of the screen you will see displayed the Wi-Fi MAC address. Record this so that you can register it on the device registration page located here: http://go.illinois.edu/illinoisnetdevices.
- Once you have registered this MAC address on the device registration page, you can connect your Apple TV to the SSID "IllinoisNet_Guest"
Mersive Solstice
If you are a staff member on campus, and you are configuring an Mersive to be used in conference room of a collaboration space, please see the "Additional IT Pro" Section of this KB. It would be advisable to use either an operator level account or configure a wired connection utilizing mobile stream. Please contact us if you have any questions.
If you are faculty/staff or student setting up a Mersive for personal use, please follow the instructions below:
- Hook up your Mersive to your TV and turn it on
- Go to Settings and then scroll down to Network
- At the bottom of the screen you will see displayed the Wi-Fi MAC address. Record this so that you can register it on the device registration page located here: http://go.illinois.edu/illinoisnetdevices.
- Once you have registered this MAC address on the device registration page, you can connect your Mersive to the SSID "IllinoisNet_Guest"
Belkin WeMo
This guide was last updated on May 5th of 2017. The devices, firmware or app may not be actually reflected in this guide if it has been updated. To request an update, please contact us! Technology Services IT Service Desk
- Open the Belkin Wemo and find the MAC address of the device. The MAC address is printed on the back of the device. See photo below
- Log into http://go.illinois.edu/illinoisnetdevices
- Click on "Add Device" and register the MAC address in the system. Be sure to "Enable Airgroup" and put in your NETID in the "Shared with" field. This will allow your phone to talk to your device.
- Next, download the Belkin Wemo App on your phone or tablet to set it up.
- Power on the device. It should provide its own SSID (network name). This is only temporary and will go go away as soon as we put it on IllinoisNet_Guest Wi-Fi Network
- On your device, connect to its SSID
- Once connected to the SSID, open the Belkin Wemo App. The app will automatically start scanning for your device
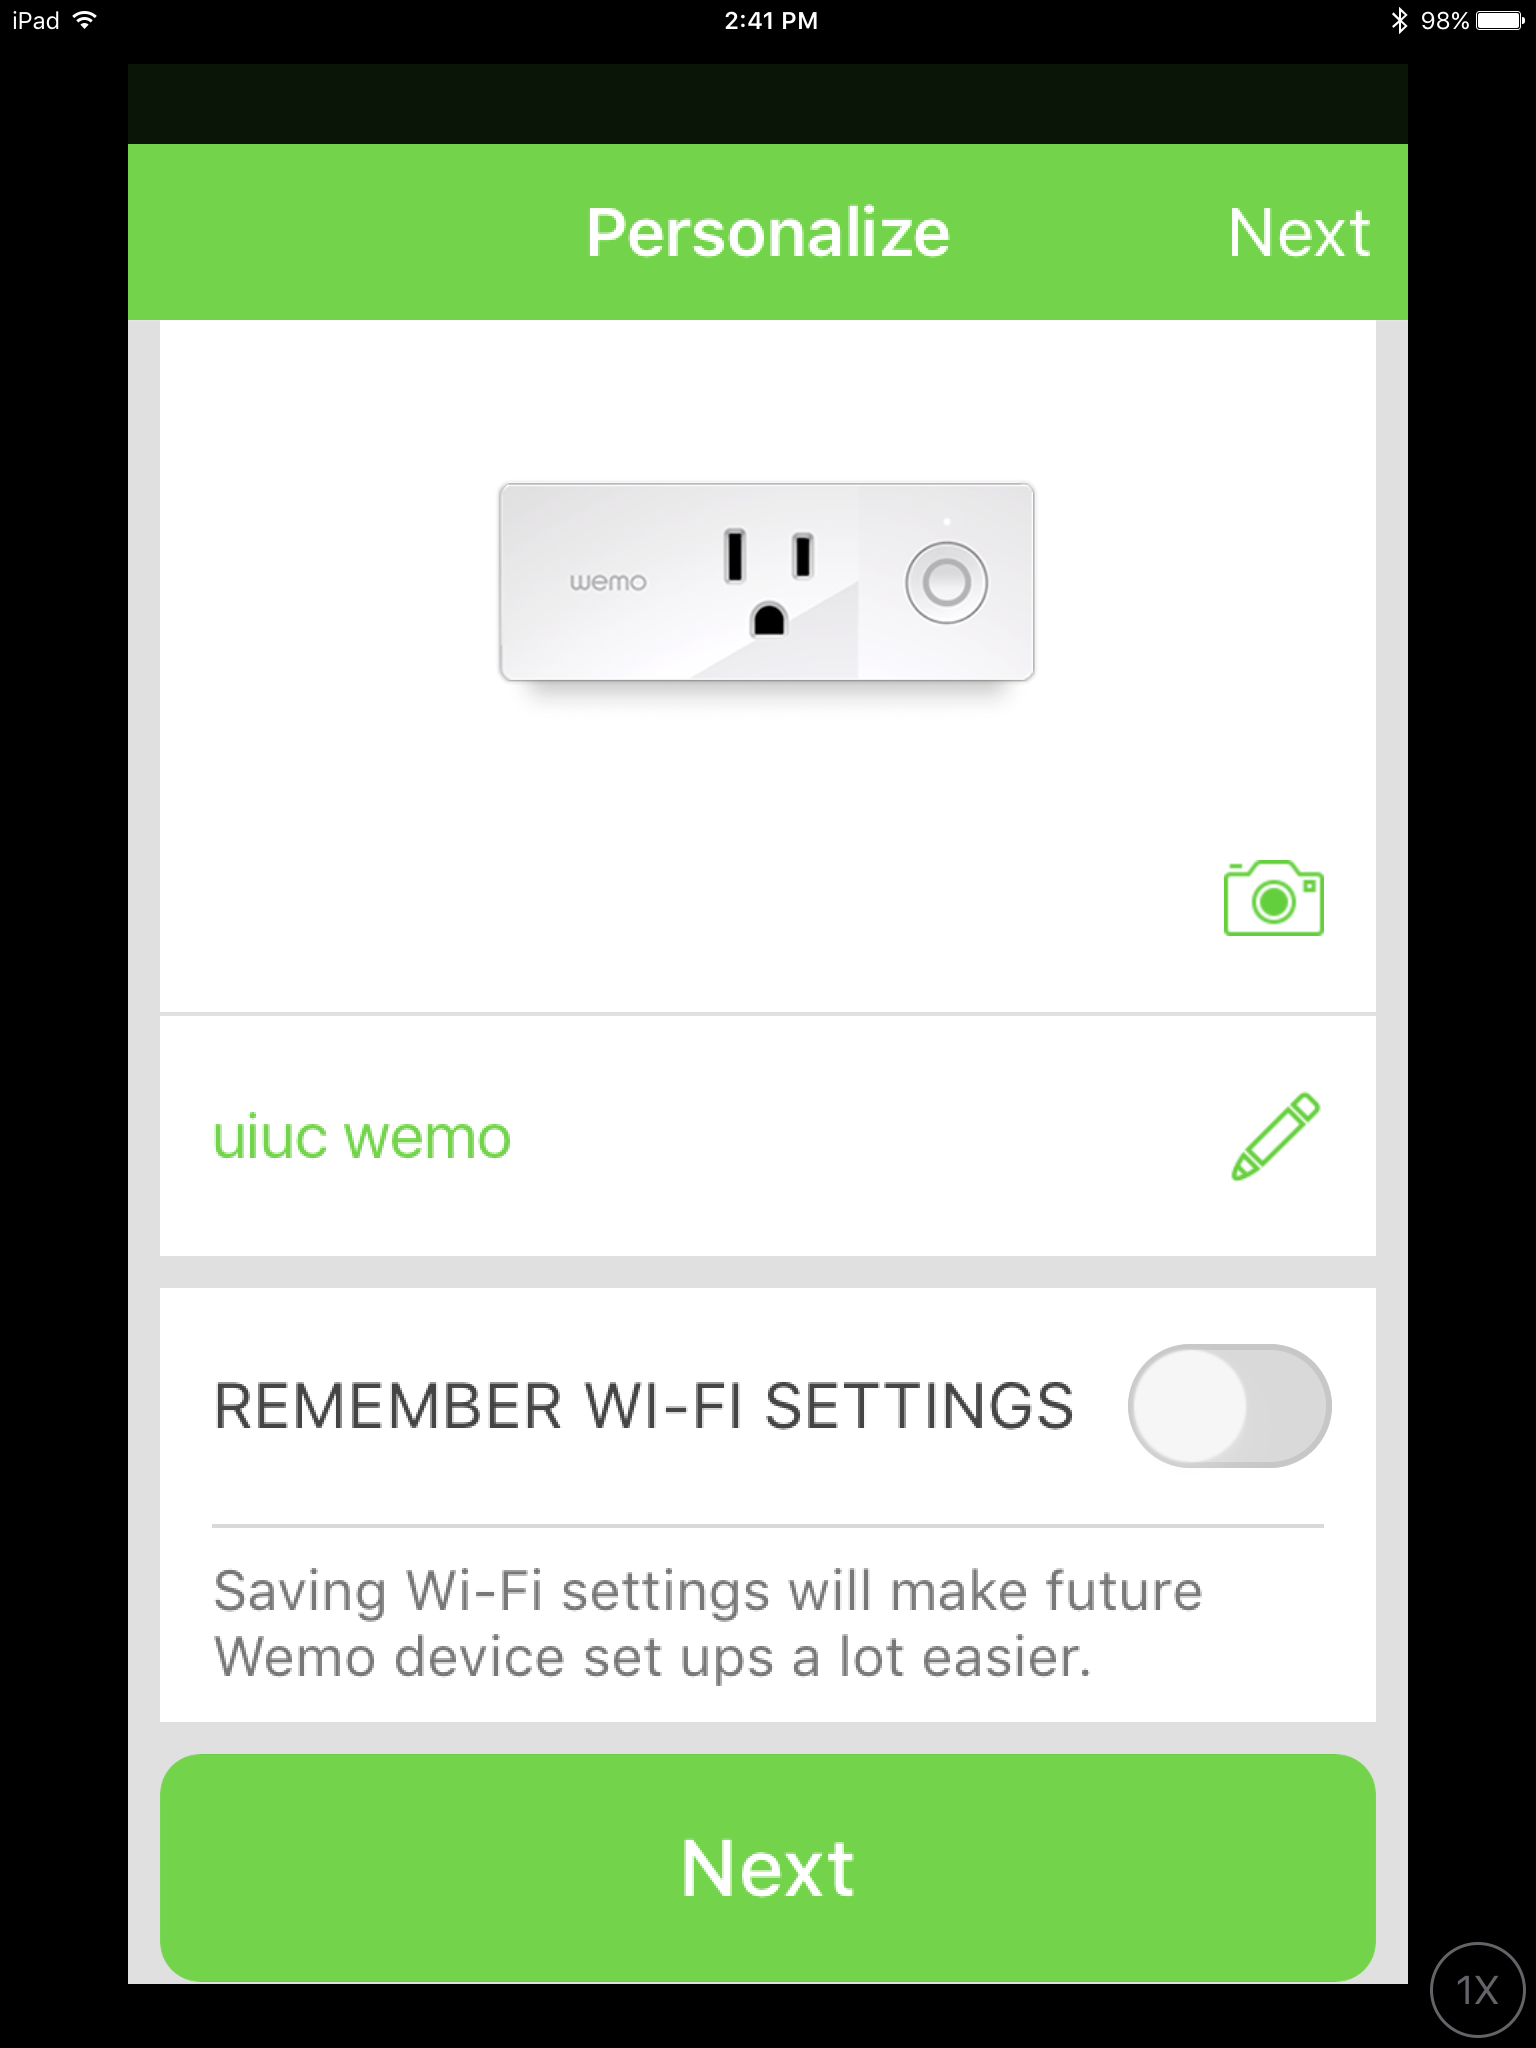
- Once the app finds your device, it will allow you to name it and configure it. In this example, please turn off "Remember WiFi settings". See photo below.
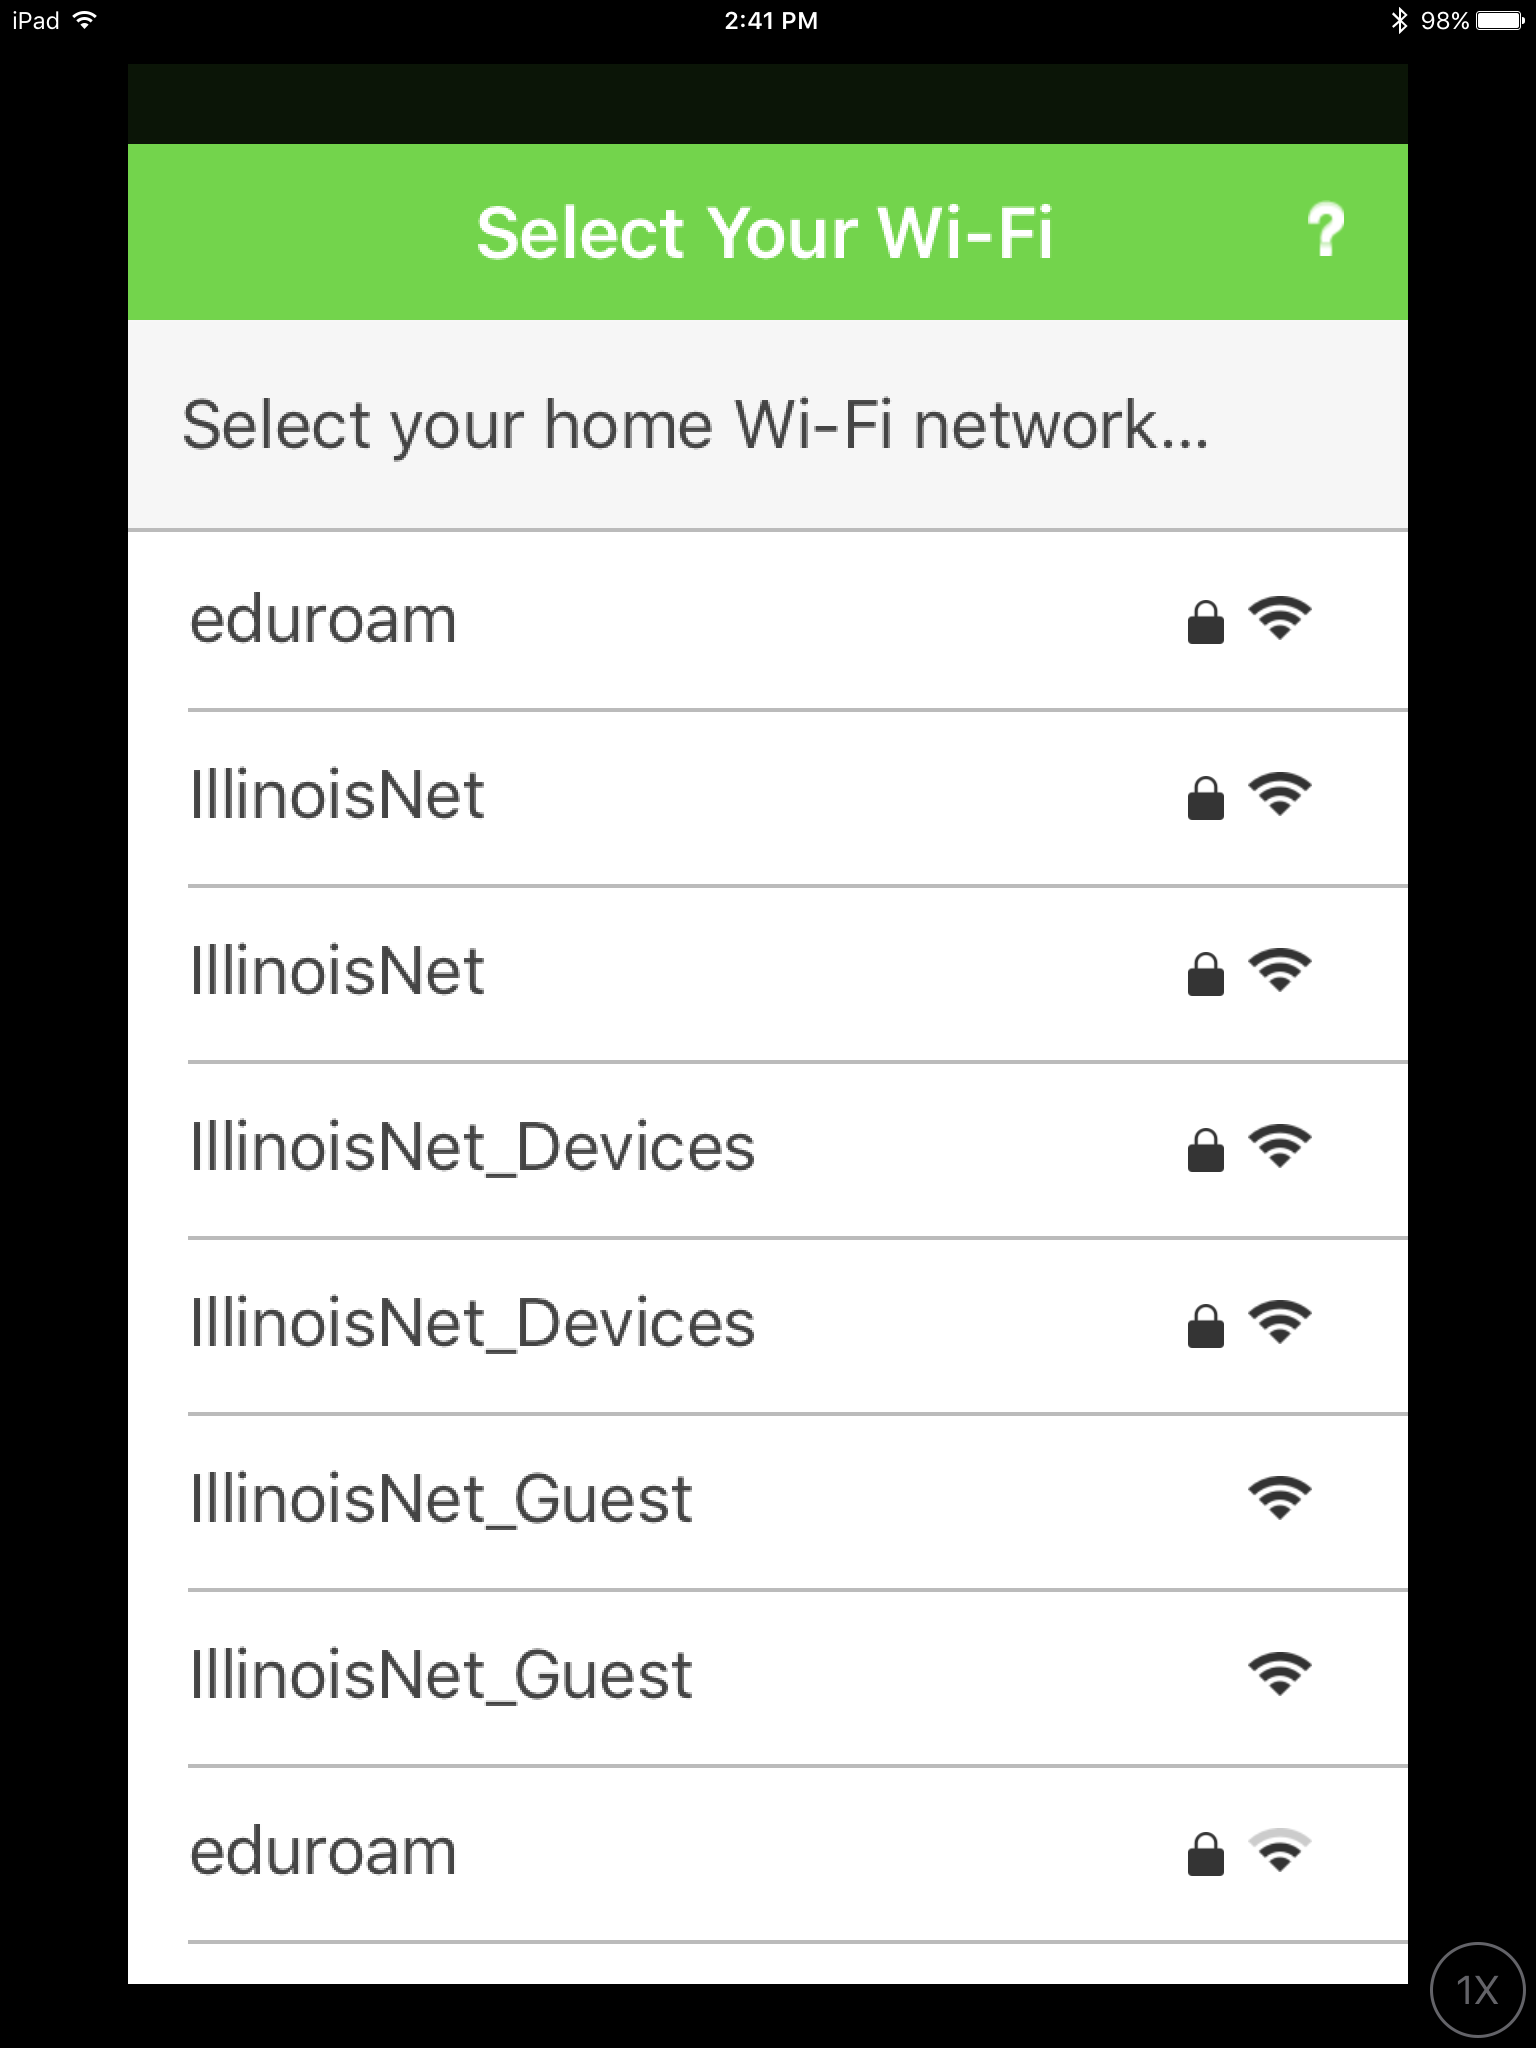
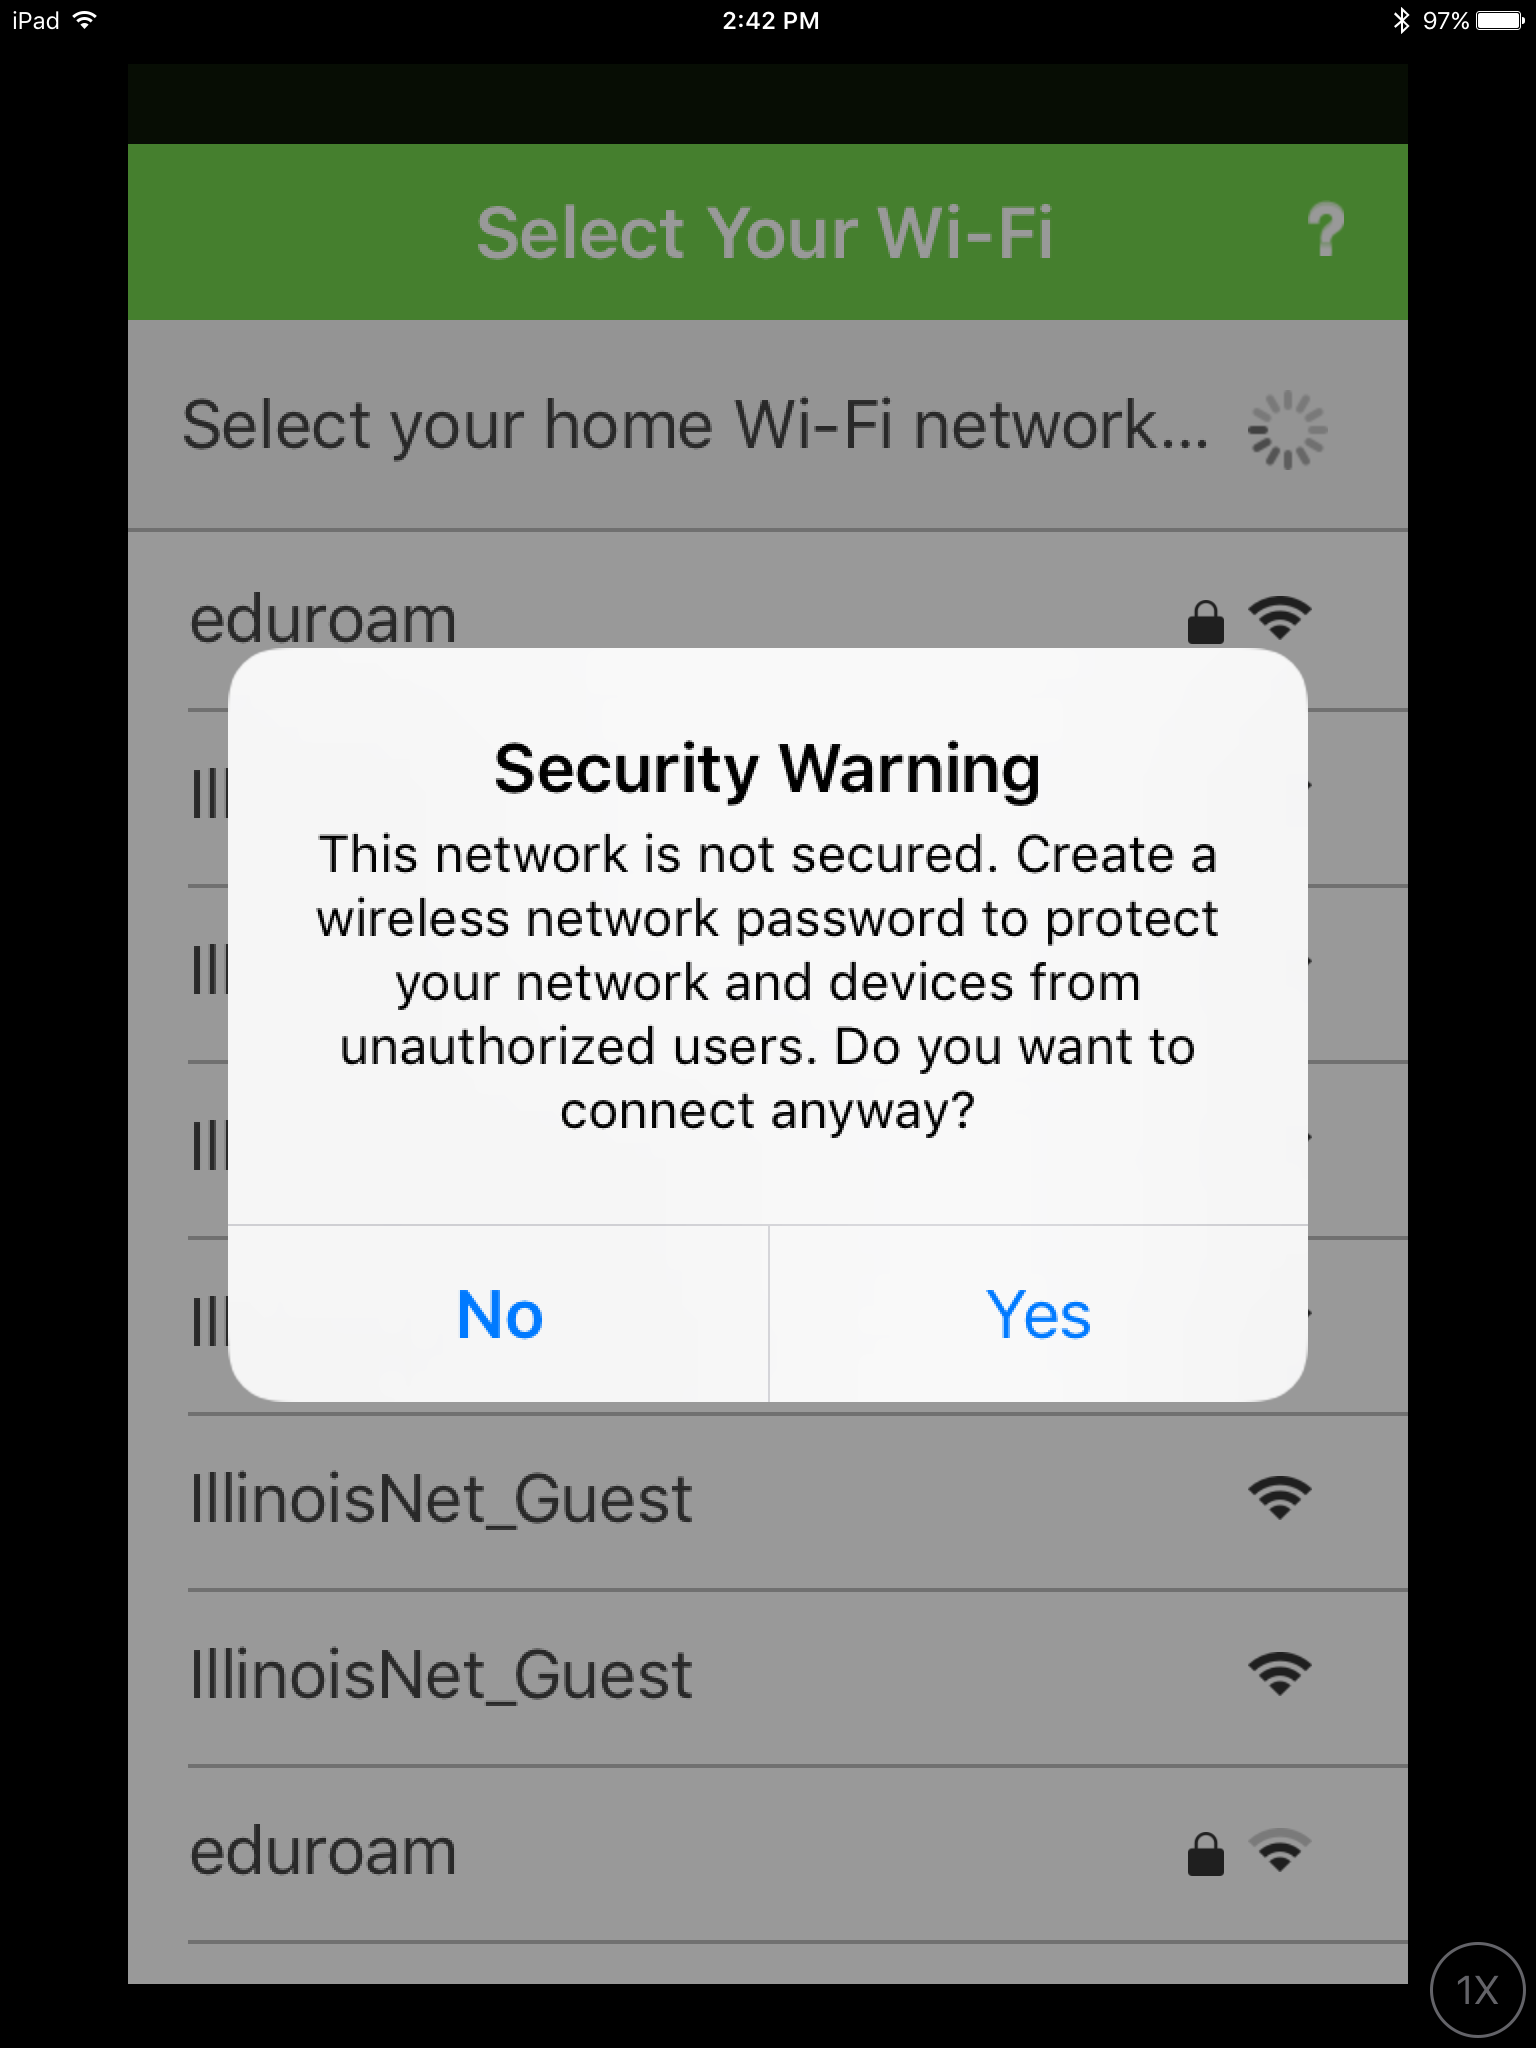
- On the next screen you will need to select "IllinoisNet_Guest". If you see the security warning, click OK. This is prompted because this network is an open network. See photo below.
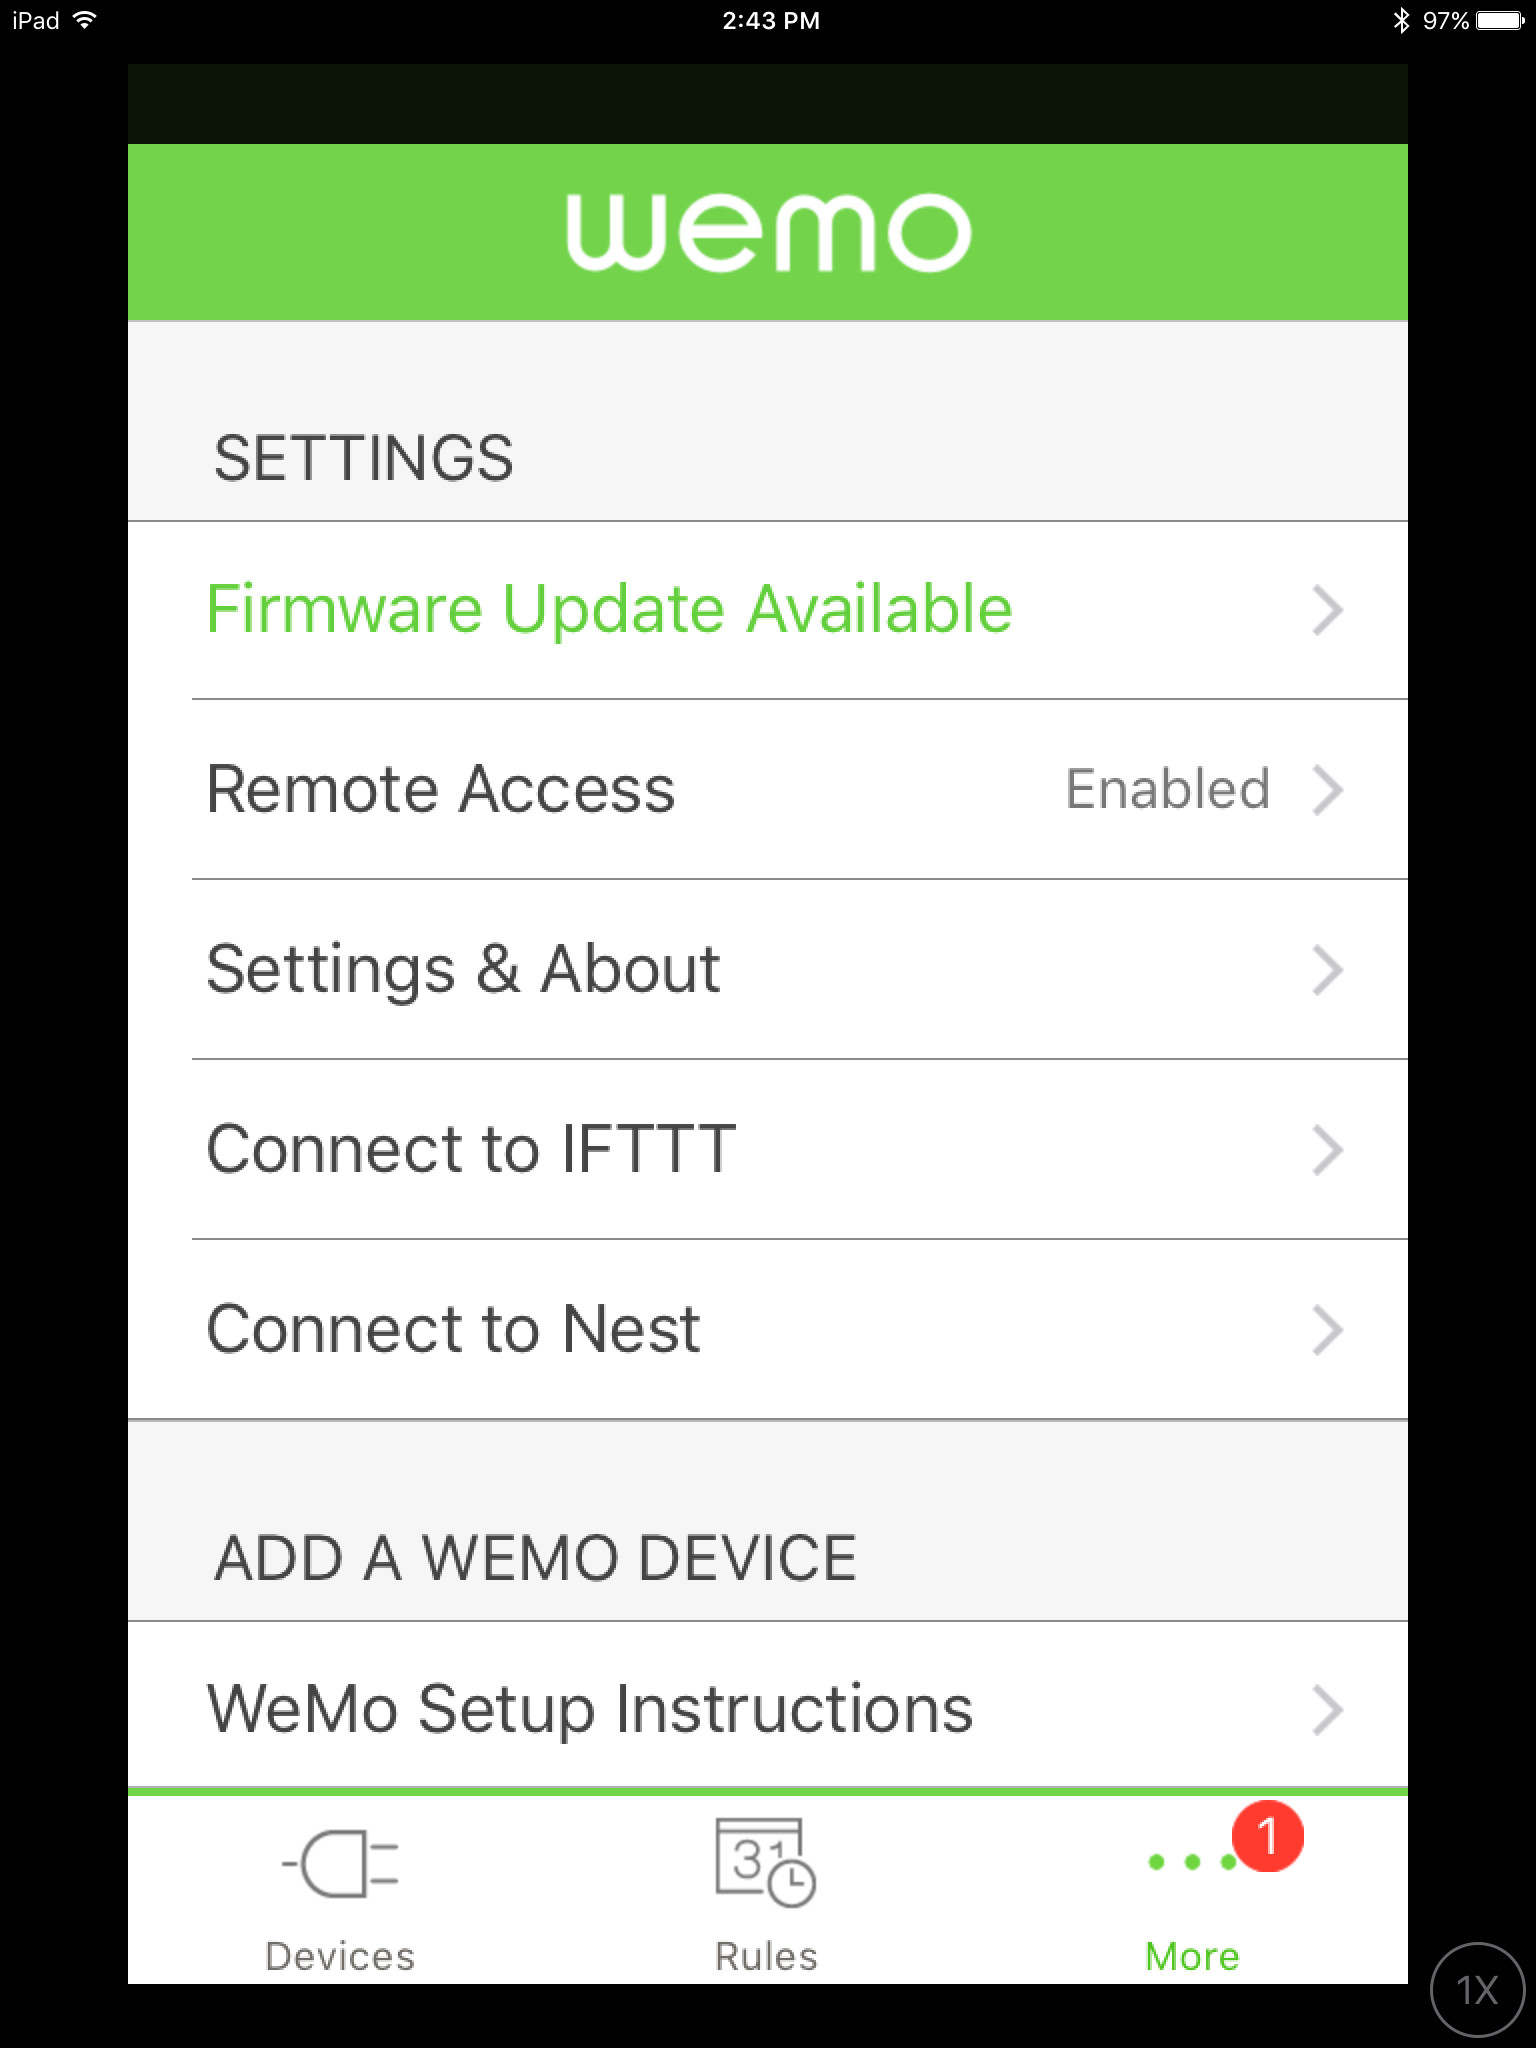
- The app will then try to move your Belkin Wemo to the new SSID. Once it does you will be prompted with the following settings page. See photo below.
- Be sure to update your firmware as soon as possible. Tech Services found that old firmware may cause your device to not behave correctly.
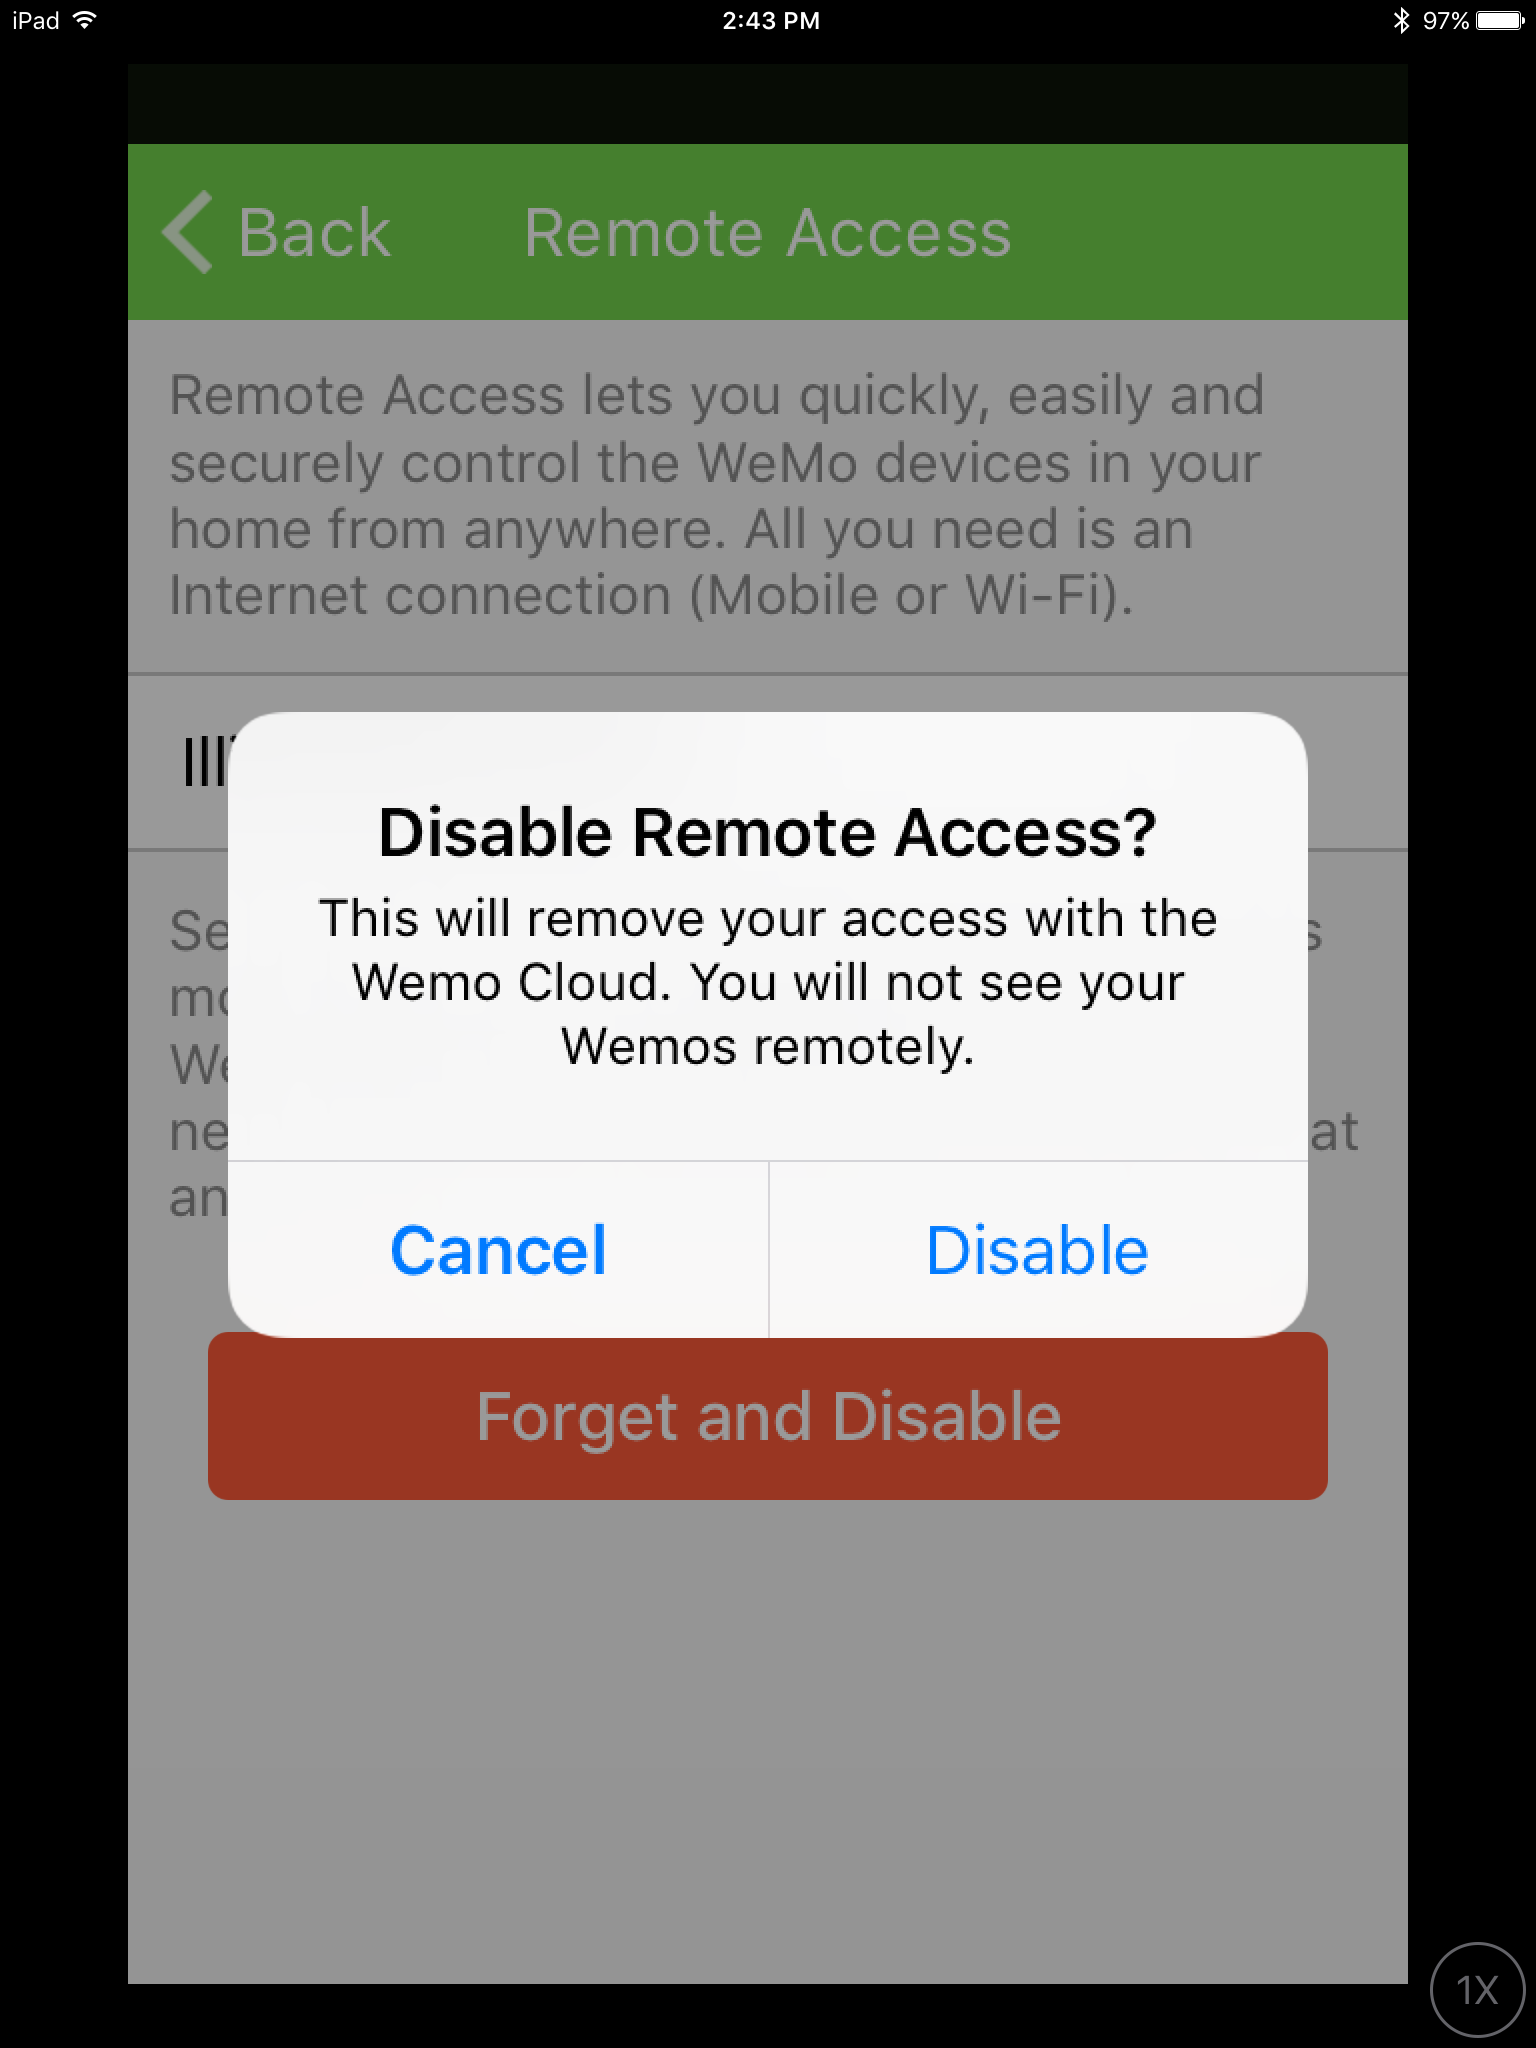
- Next, select "Remote Access"
- Please disable "Remote Access". With this disabled, it will allow your phone to know about your devices if they are two physical locations, such as Home and Work. With this enabled the Belkin Wemo app will only show your devices based on one network. See photo below.
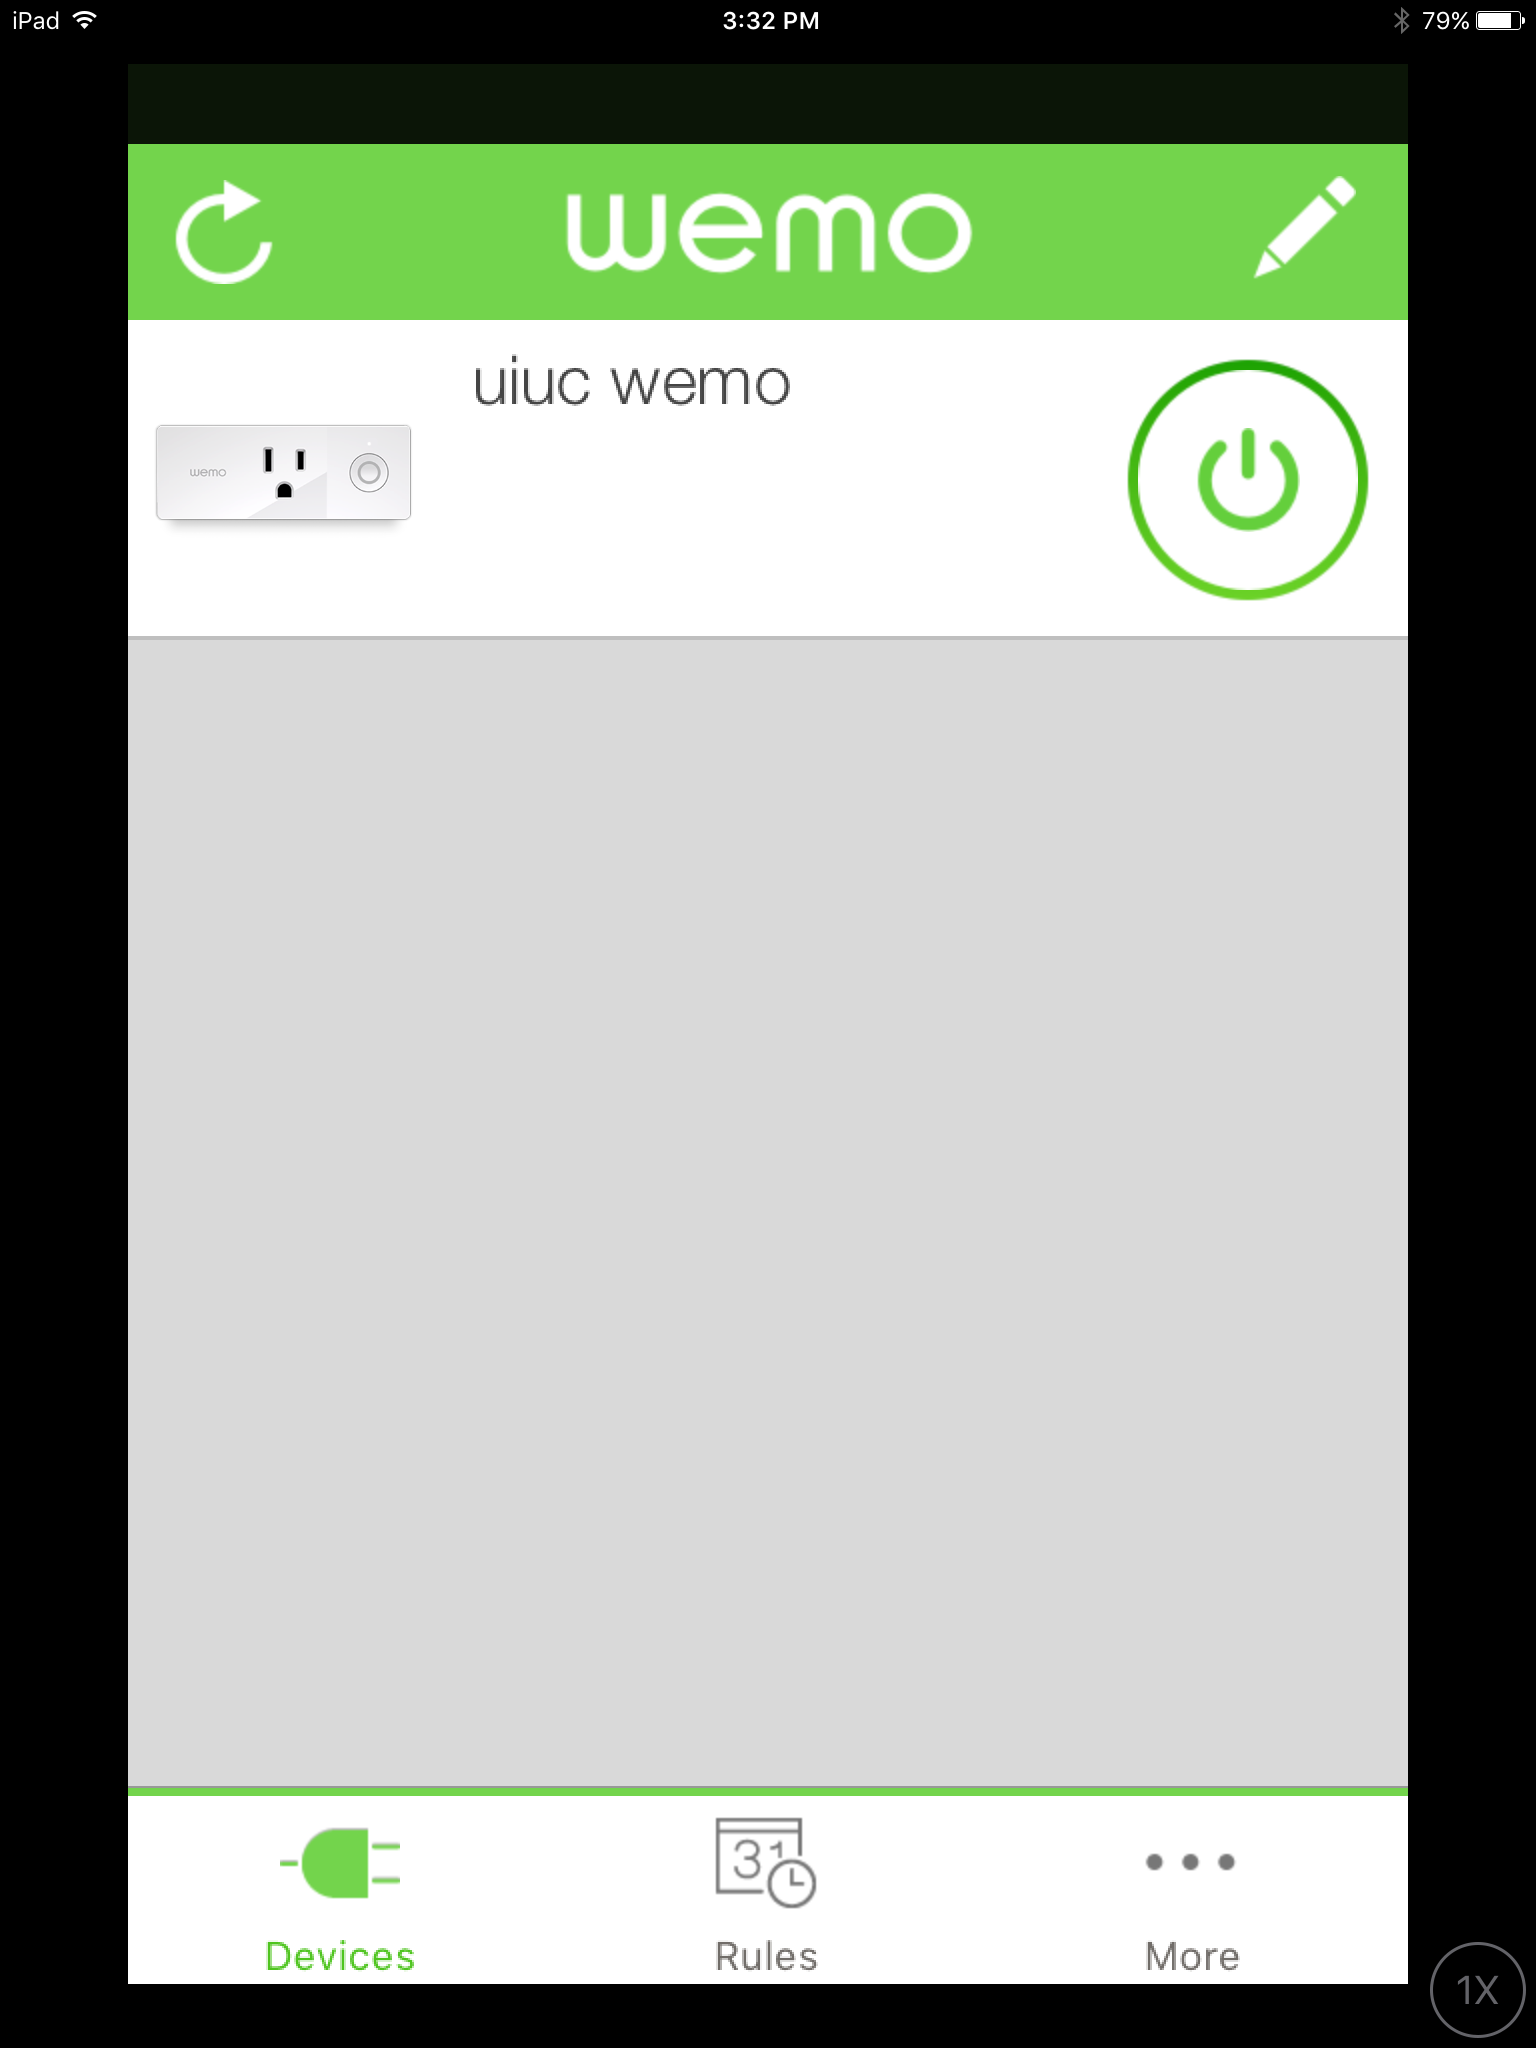
- Your setup is now complete. Please verify that you have connectivity to your Belkin Wemo. See photo below.
- Still having issues? Please contact the IT Service Desk. Details on how to reach out to us can be found here: Technology Services IT Service Desk

Genni/Merkury Innovations (Smart Light Bulbs)
- Unpack the light bulb and find the MAC address of the light bulb you wish to connect (If you have trouble finding it, try a Google search or browsing the manufacture website for those instructions. More details on this can be found in the troubleshooting section)
- Register the MAC address on the go.illinois.edu/illinoisnetdevices portal
- Be sure that you enable Airgroup and put your NETID in the "Shared with" field. If you wish to share this device with others, you can add there NETID as well
- Place the bulb in "Hotspot Mode"
- Open the App and follow the instructions to find a new device
- When it comes time to select an SSID, be sure to select "IllinoisNet_Guest"
- You may be prompted to enter in your "username" and "password", since you are connecting to IllinoisNet_Guest leave this blank!
- The app will then send information to your bulb and have it connect to IllinoisNet_Guest. After a few moment, the bulb should flash indicated that the setup was successful
- You can now move your phone back to IllinoisNet and control the light bulb (Don't forget to "Forget" the IllinoisNet_Guest Wi-Fi Profile!!!)
Element TVs
- Hook up your TV and power it on
- In the settings, or on the back of your TV, find the MAC address and write it down
- Go to a device connected to the internet and register the MAC address of the device on the site located here: http://go.illinois.edu/illinoisnetdevices.
- Once you have registered this MAC address on the device registration page, you can go back to your TV and connect it to the SSID "IllinoisNet_Guest"