cPanel, Creating a new account
To access the account creation page for the cPanel Web Hosting service, you must be using a campus IP address. You can do so either by using Illinois Net, a physical connection on comapus, or using the Tunnel All profile with the Campus VPN.
To create a new account on web.illinois.edu, you must be a member of the University of Illinois at Urbana-Champaign with an @illinois.edu email address.
Partners from other institutions can share in your account once it's been created; however, the account owner must be a part of the Urbana campus.
- In a browser other than Safari, go to https://go.illinois.edu/cPanelCreate .
- Click the Campus Login button.
-
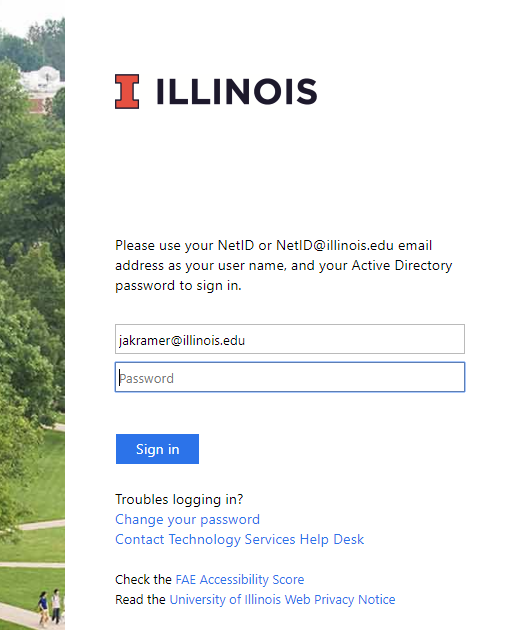
If prompted, choose your Illinois.edu email and log in.
The sign-in sequence
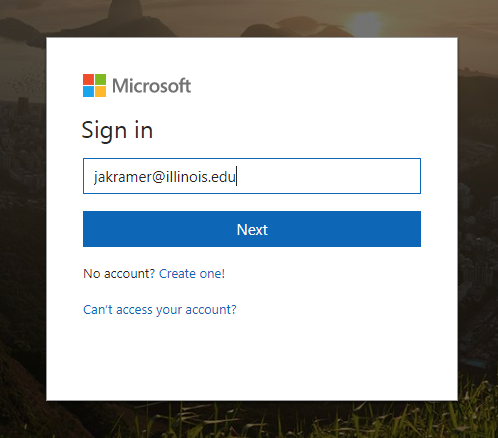
First, you'll be prompted for a Microsoft login.
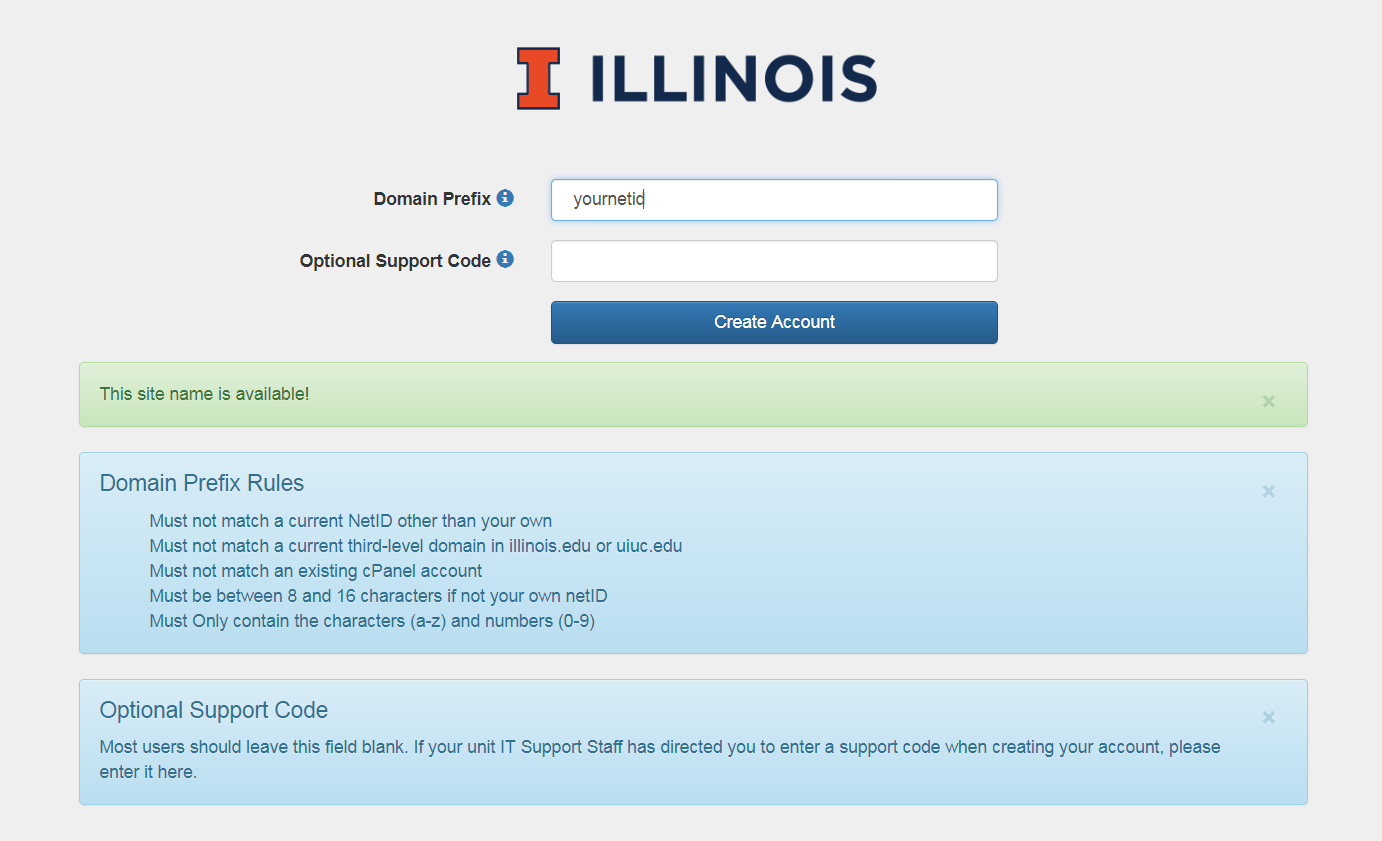
- Choose the domain you'd like to use.
- For personal sites, your own NetID is a good choice that's easy for you to remember. You'll receive a domain in the form of yournetid.web.illinois.edu.
- For group or departmental sites, you'll probably want to use non-NetID options in a form like yourprojectname.web.illinois.edu.
-
Some additional rules may apply. Click the blue ? icon for additional information.
-
Requesting your NetID as your domain
In this screen shot, you're requesting your NetID as your domain prefix (yournetid.web.illinois.edu). You've turned on the help prompts by clicking ?.
-
(Optional) If your department uses a special identity and you want to associate this account with the department, use your department's support code.
-
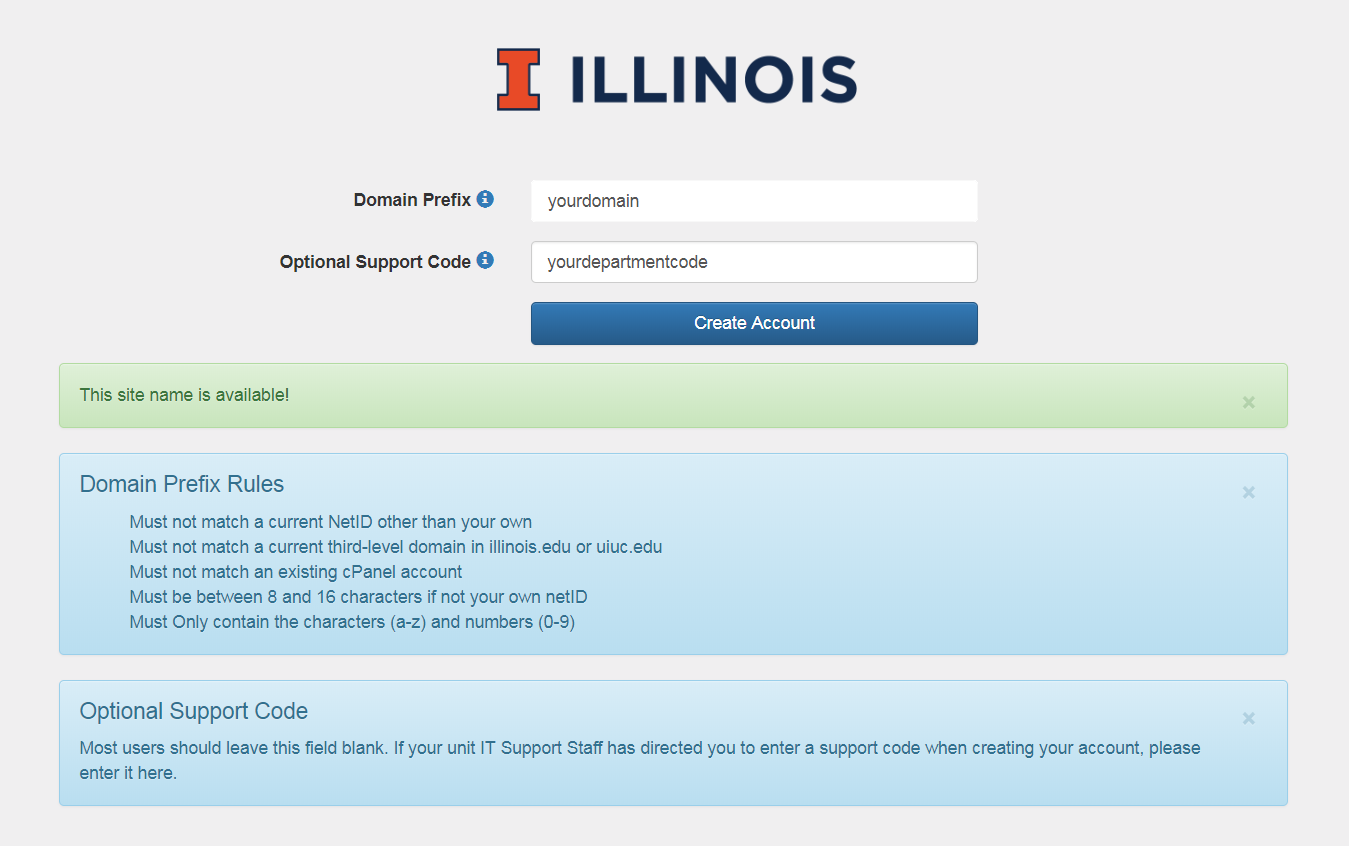
Requesting "your domain" in "your department"
In this screen shot, you're requesting yourdomain as a member of yourdepartment and have turned on the help prompts by clicking ?.
6. Don't close your browser window yet. Wait for the blue status bar to change from "Creating account" to "Access Added. LOG IN to your accounts." (Click the words LOG IN.)
Log In ready screen shot
The window when your account is created and your login is available.

7. You may receive a notice saying your session cookie is invalid. Don't worry; simply click the Campus Login button again.
Session cookie invalid screen shot

8. You'll be taken to a landing page where you can choose which of your accounts you'd like to log in to.
Landing page screen shot

9. Click on the image for the account you'd like to work with. (The real examples will have the account names visible; they were removed here for privacy. You may have more or fewer accounts than this.)