

cPanel, Backup and restore of your website
There are several different options for backing up your site, and you may choose one or more of these as part of your backup strategy.
Softaculous Backups
Automated
When installing software through softaculous, you have the option to set up automated backups. You can set the frequency and the number of backups you wish to keep. When you reach the number of backups you set, the oldest backup will automatically be deleted. These backups are stored in your cPanel account and therefore use up some of your quota. For this reason as well as to ensure access to your backups in case of a service interruption, we recommend that you download your softaculous backups and store them in an alternate location. If you do this regularly or let a script do it for you, there is no reason to keep more than one softaculous backup in your account at any time. If you want to use the softaculous restore feature on a backup file you have already downloaded and deleted from the server, you can re-upload the backup file to your softaculous_backups directory using the file manager or any of the other file transfer tools.
Point-in-time
If you are about to apply updates to your site or make any other significant changes, you will likely want a backup just before you begin making your changes. Softaculous gives you an easy button for that.
Listing your Installations
Navigate to Softaculous and click the All Installations icon  in the top toolbar

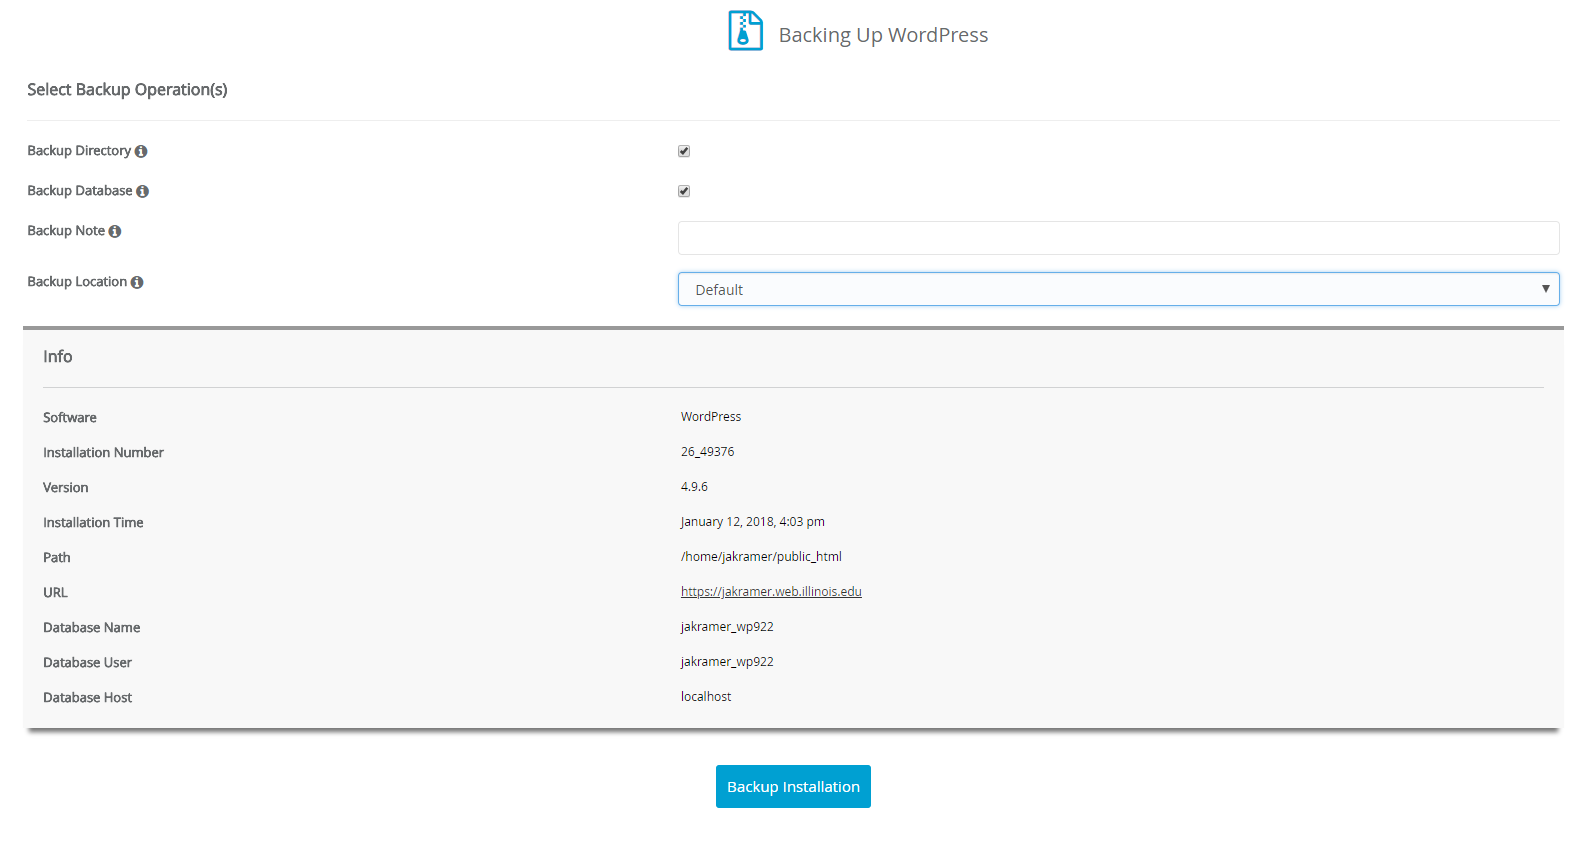
Running the Backup
Click the backup icon  in the installation list for the website you want to back up
Restoring
All the backups for your softaculous linked software can be found by navigating to Softaculous and choosing the Backups and Restore icon  from the top toolbar
You can download, delete, or restore any backup directly from this list.
Backup List

CMS backups
If you are using a CMS for your website, CMS backups should be a part of your backup strategy. If you CMS was linked to Softaculous, the softaculous backups fill this role. If you are using software that is not available through Softaculous, you will need to perform backups as recommended by your software. Most CMS type software packages have built-in backup and restore features, or have plugins or addons to perform this function.
Backup Wizard
The backup wizard provides an easy interface for creating and restoring backups. Backups created here will be downloaded to your local machine. You can choose to keep them there or copy them to an alternate location for storage such as UofI Box or other cloud storage solutions. Similarly, when it comes time to restore, you will need to upload the backup you wish to restore into the wizard. It does not retain copies of your backups for you.
Full Backups with Backup Wizard
Full backups performed in the Backup Wizard are cPanel account backups. They include everything cPanel needs to know to recreate a complete account, usually in order to migrate the account to a new server. You cannot restore your own account, or files and databases from your account using this type of backup. You may run across a use case for these backups, but in most cases you and your customers will want to use the partial backups feature.
Partial Backups with Backup Wizard
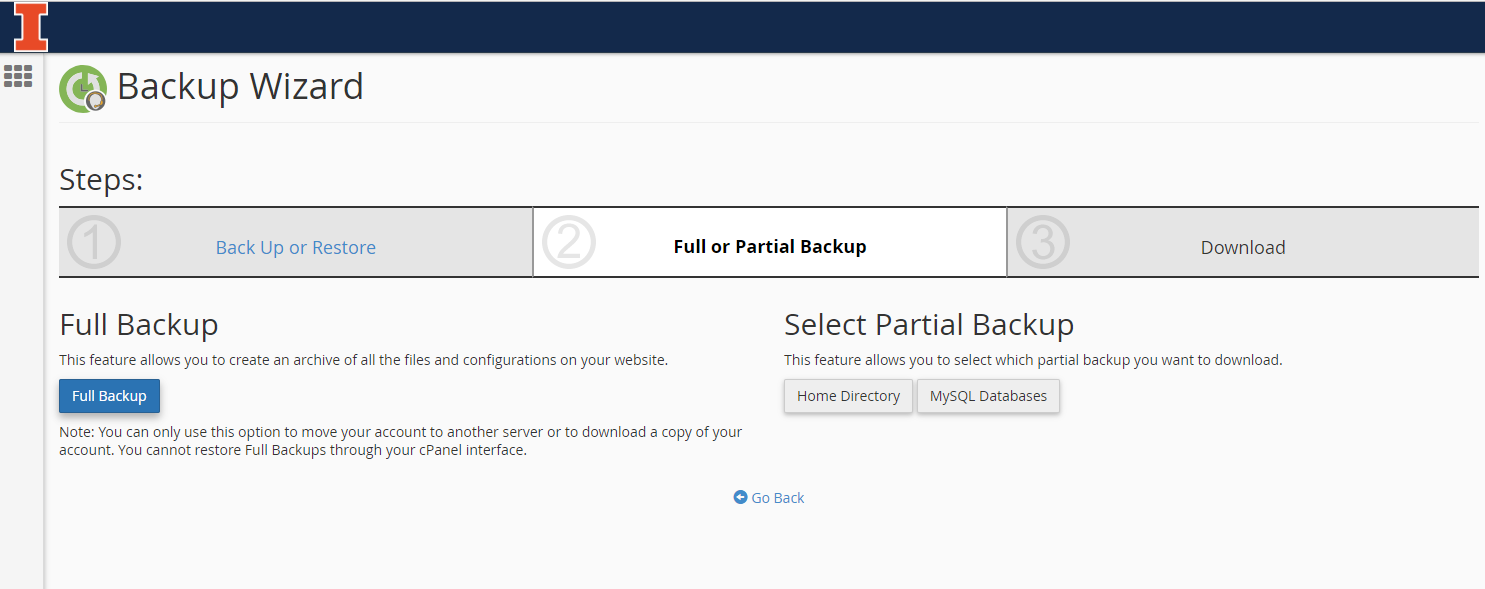
Partial backups allow you to choose between backing up your home directory or backing up your mySQL/MariaDB databases. PostgreSQL databases are not supported by the backup wizard.
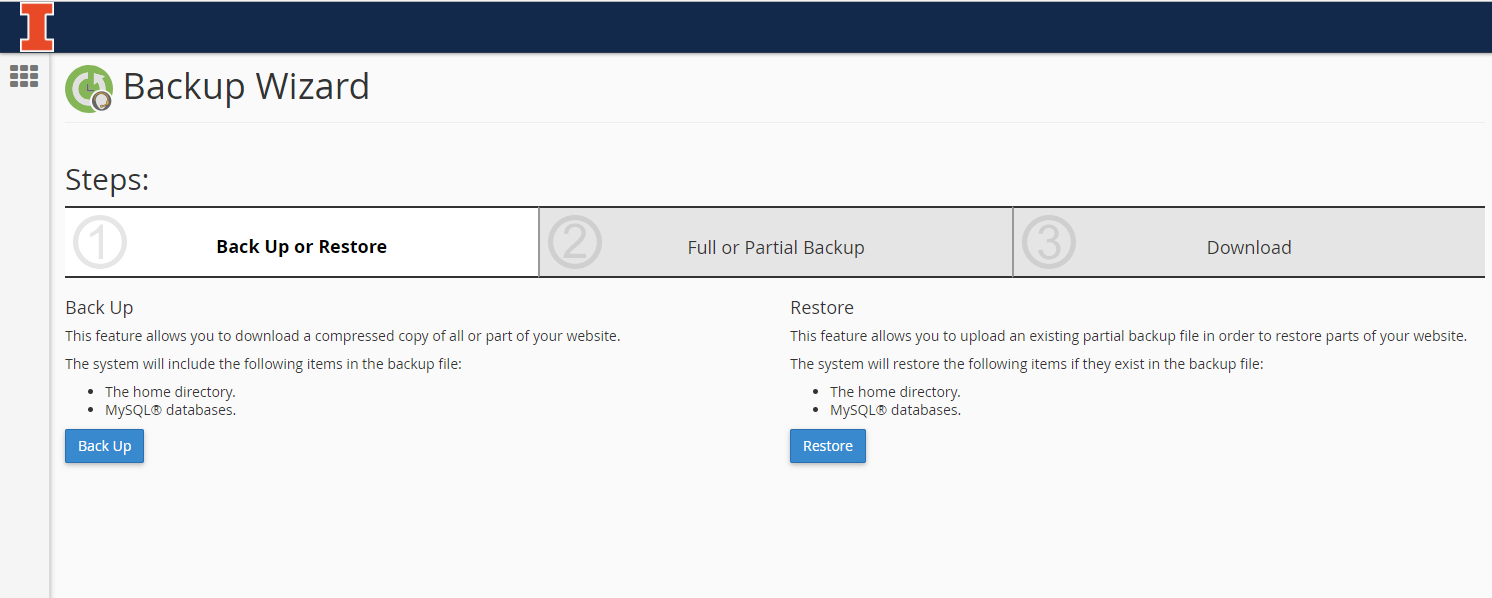
Step 1: Select whether you want to back up or restore
Step 2: Choose Backup Type
Click the button for the type of backup you would like to create.
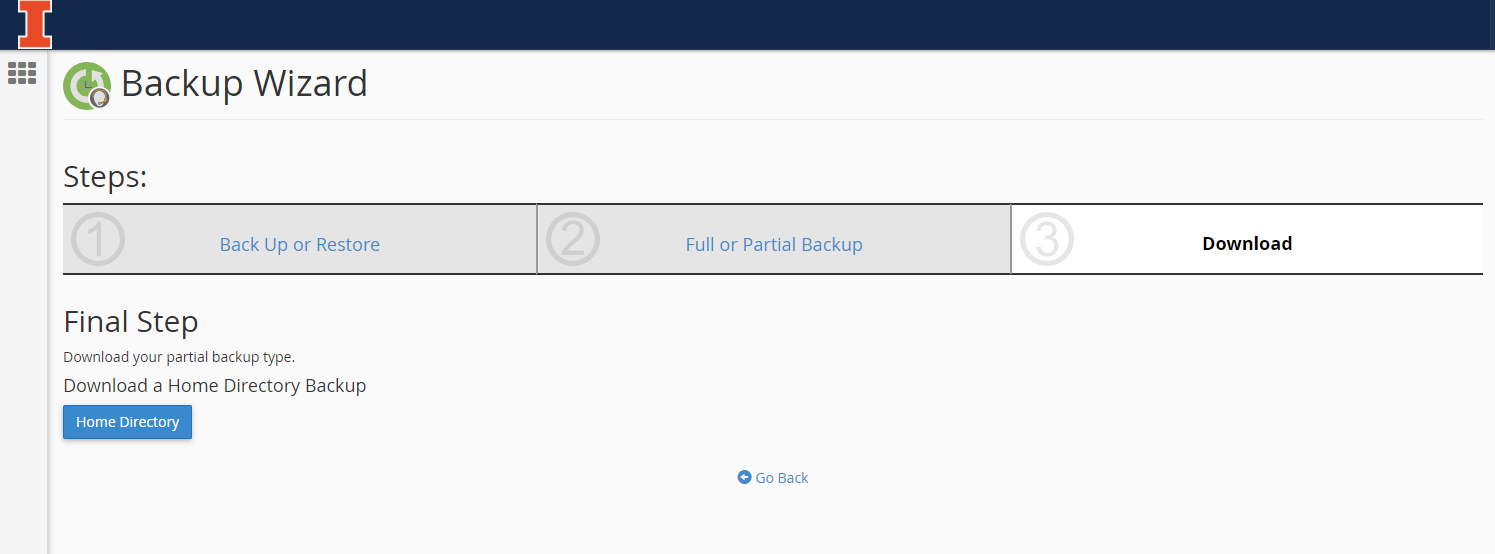
Step 3: Download your backup, home directory edition
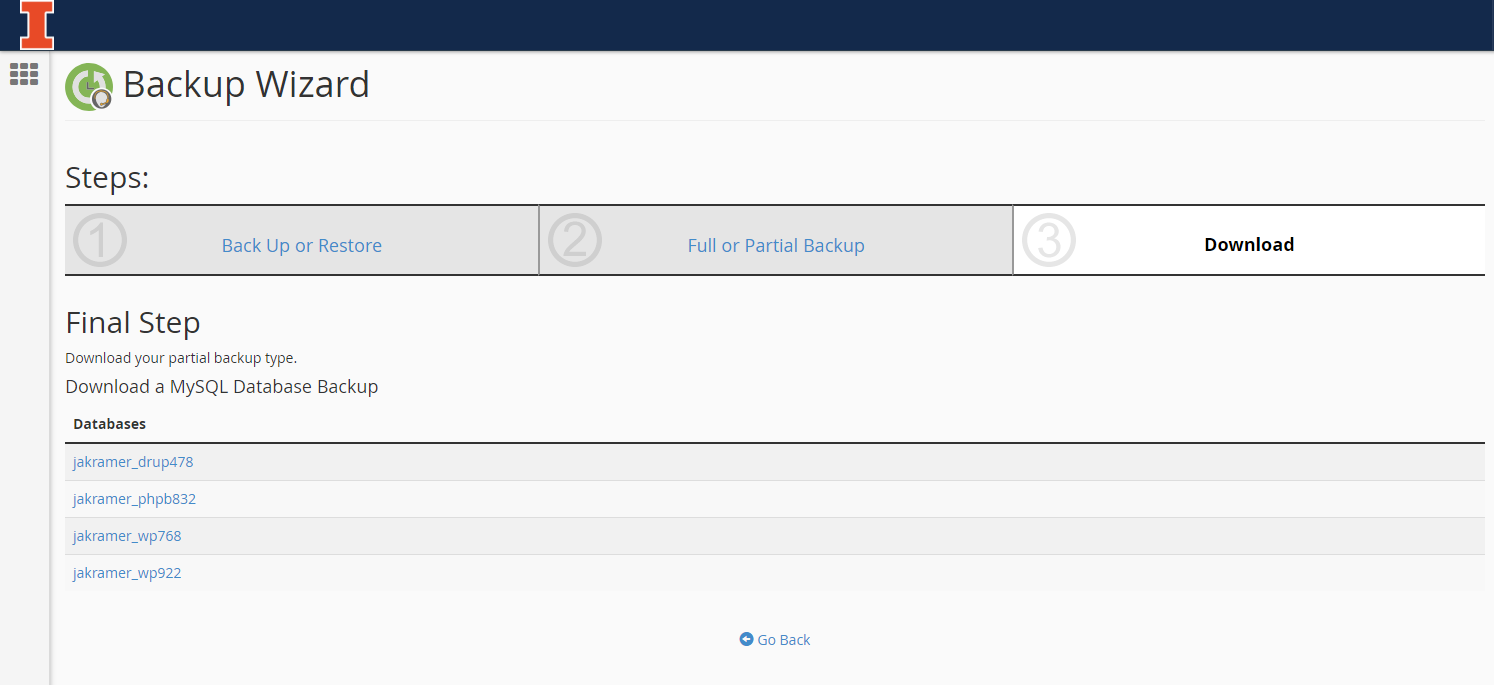
Step 3: Download your backup, databases edition
Click the link for the database you wish to back up. Your file will be saved as <databasename>.sql.gz
Restores with Backup Wizard
Backup Wizard will allow you to restore a complete backup of your home directory or individual mySQL/mariaDB database backups
Step 1: Choose Restore
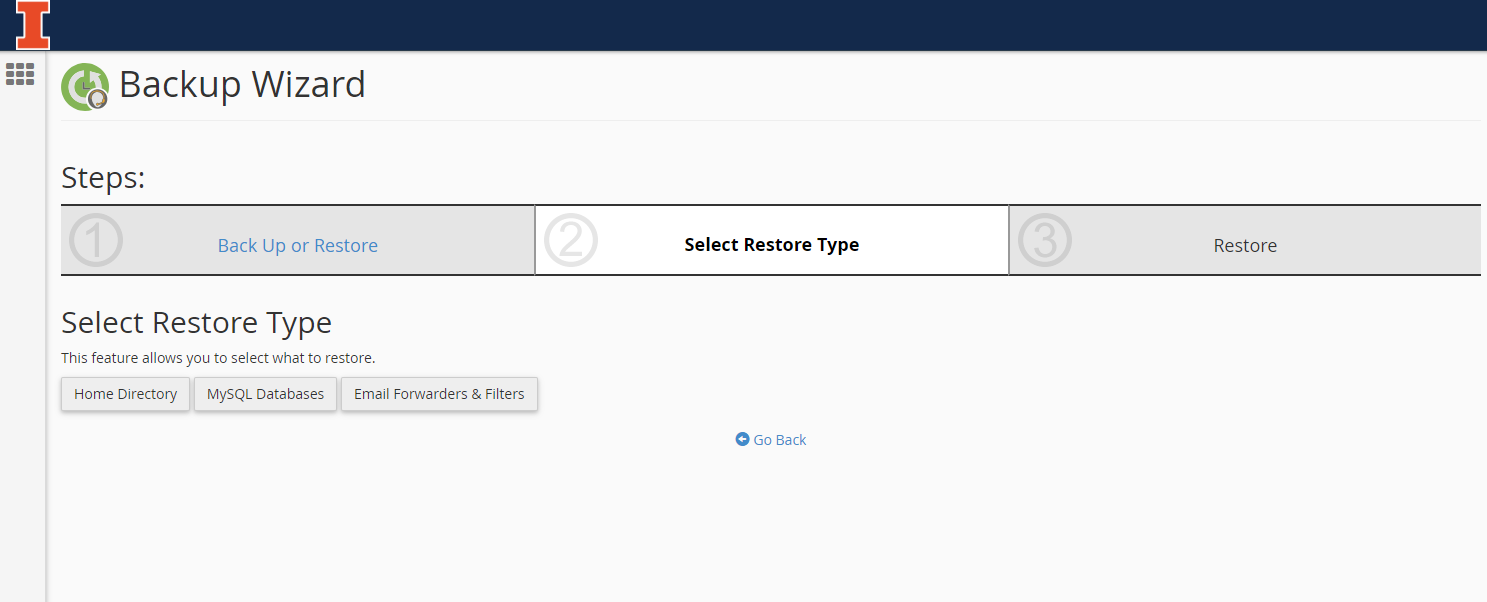
Step 2: Choose Restore Type
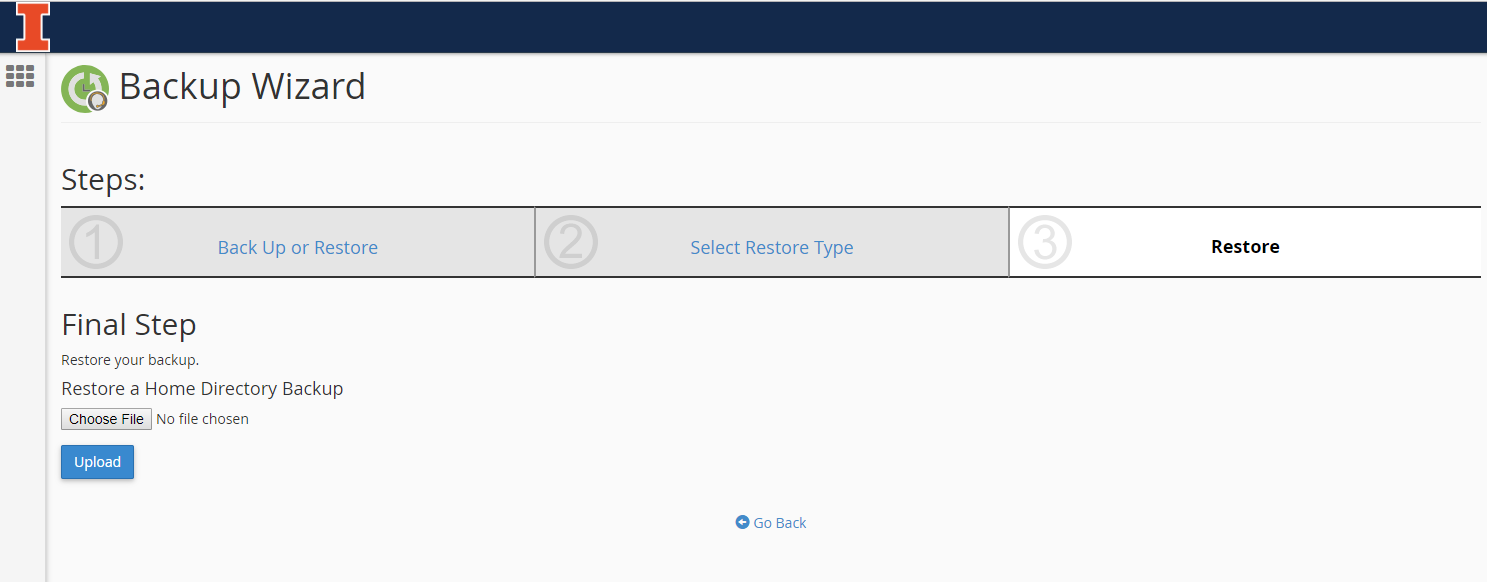
Step 3: Upload and Restore, Home directory edition
Click choose file, browse for you file and upload it.
Once you click Upload, there are no further confirmations. A new window will open while your file uploads. Once the upload completes, the restoration will begin immediately.
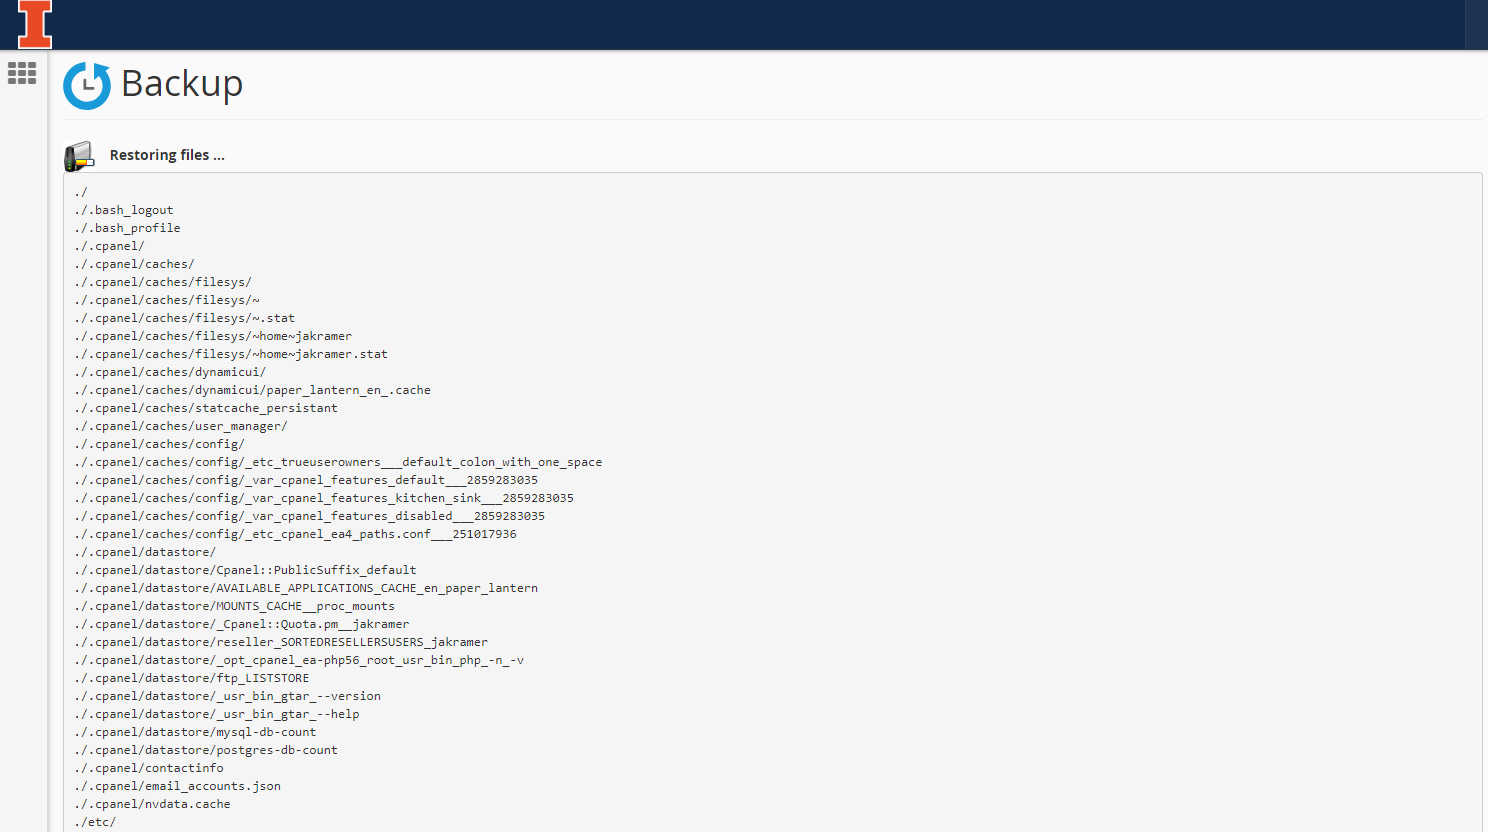
Results
There won't be feedback until the restoration is complete.
Step 3: Upload and Restore, database edition
Click choose file, browse for your file and upload it.
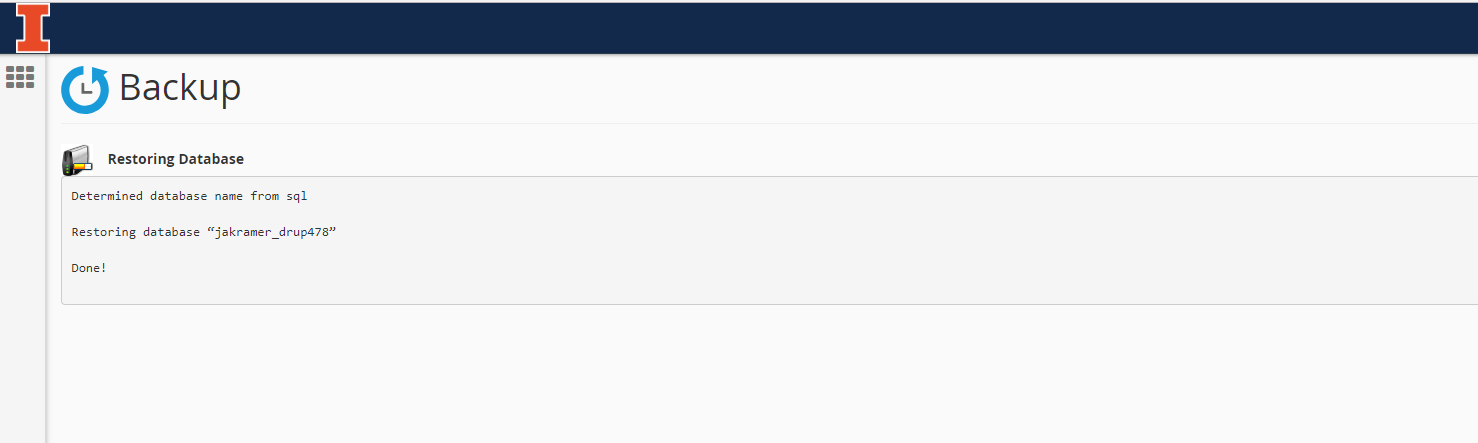
Once you click Upload, there are no further confirmations. A new window will open while your file uploads. Once the upload completes, the restoration will begin immediately.
Results
Backup Tool
The Backup Tool provides all of the features of the Backup Wizard on one page, along with access to download account backups that have been created automatically by the system.
Database Backups
If your website uses a database, backing up the database(s) should be part of your backup strategy. If the database is part of a CMS, you should be covered already by the CMS backups or Softaculous backups we already discussed. If you are using mysql, you may have chosen to use the Backup Wizard or Backup feature provided by cPanel. If you are using software that does not provide backup and restore features, or if you prefer to create backups yourself, you can use standard database tools to perform your backups.
Using phpMyAdmin to back up and restore your mySQL database
phpMyAdmin Backup
Using phpMyAdmin to back up your database
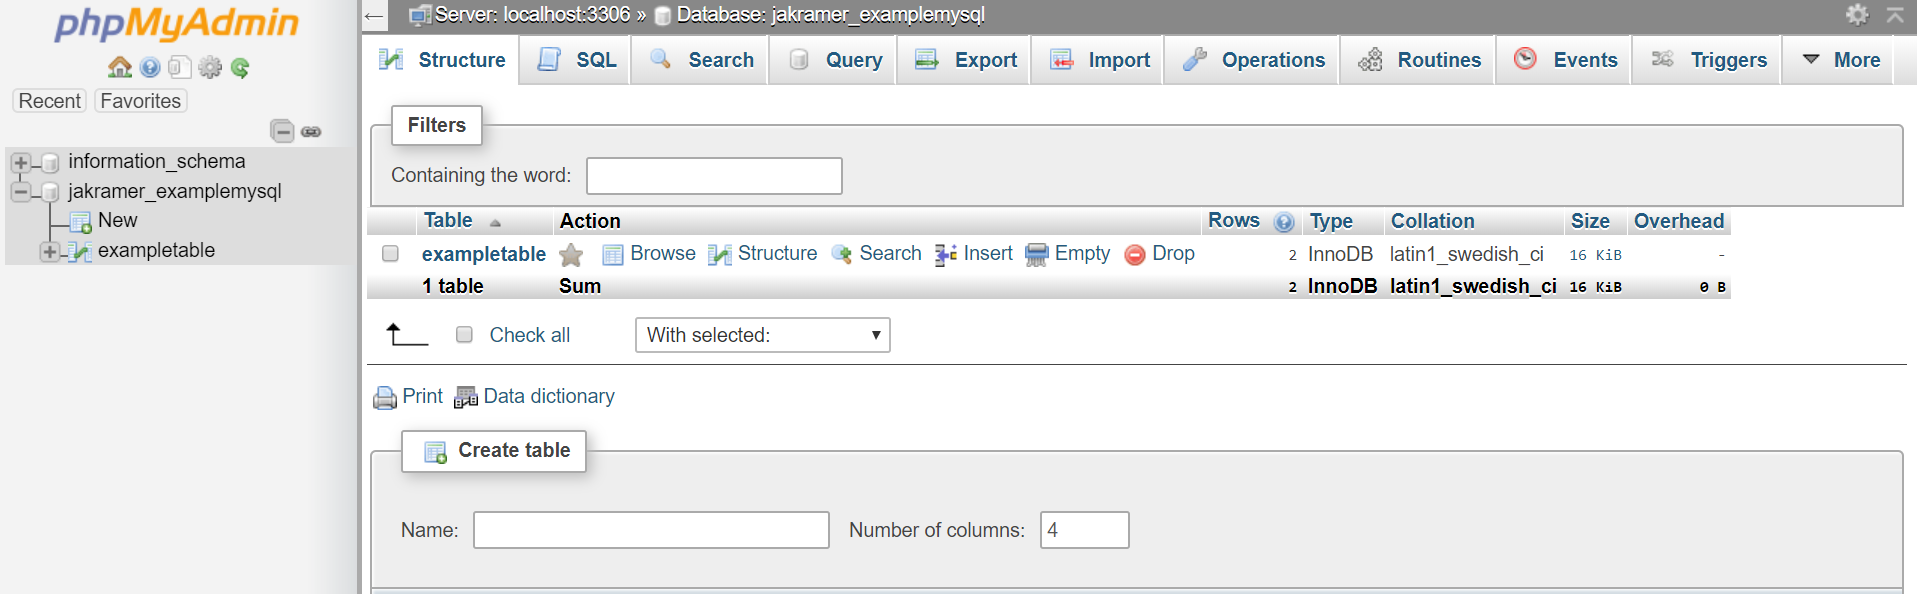
1. Open phpMyAdmin from your cpanel dashboard and then choose Export from the toolbar.
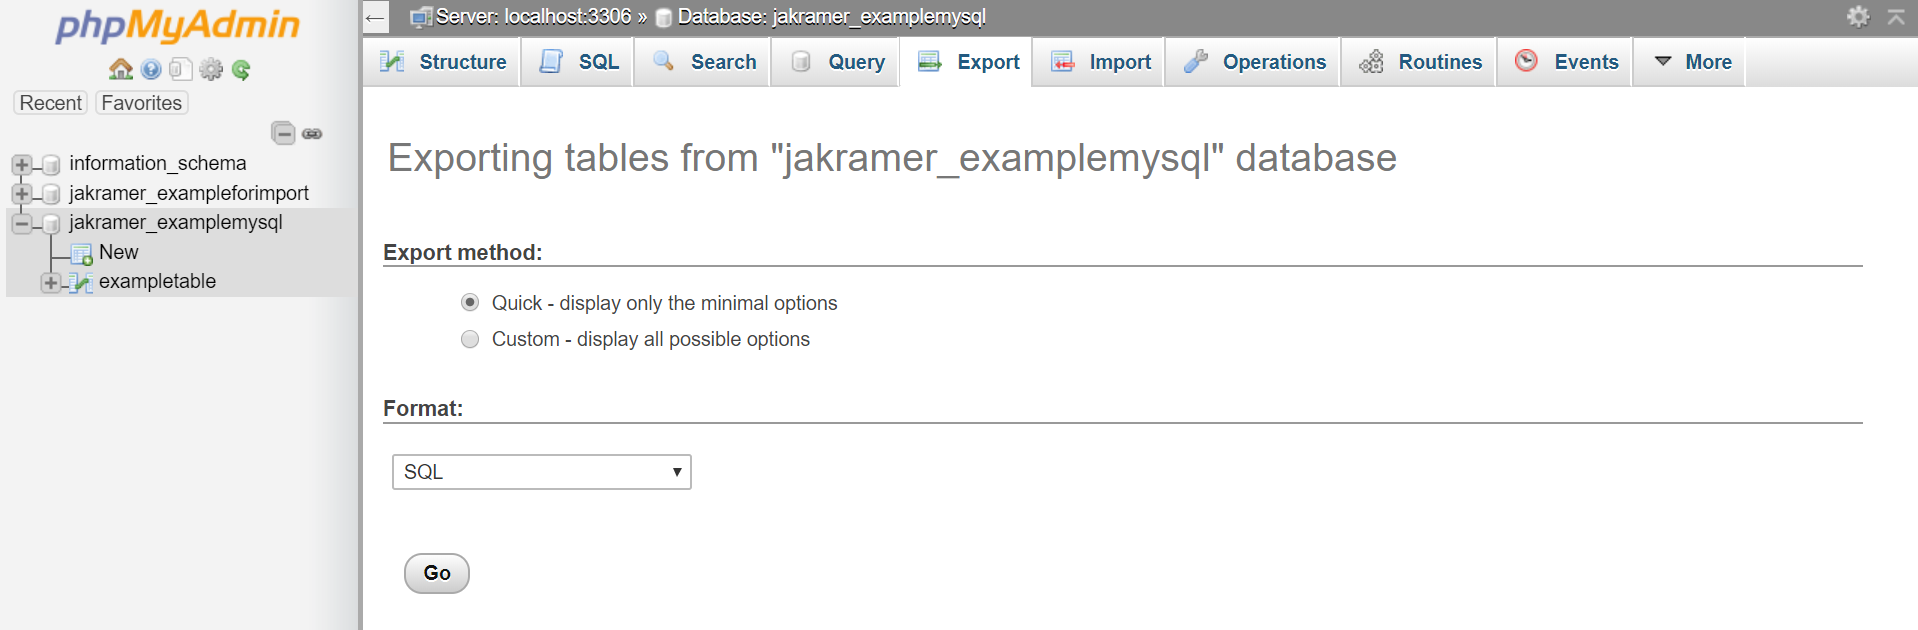
2. In most cases you can just choose Quick and SQL, then click Go OR Select Custom to review the possible options and make any changes if you have specific requirements.
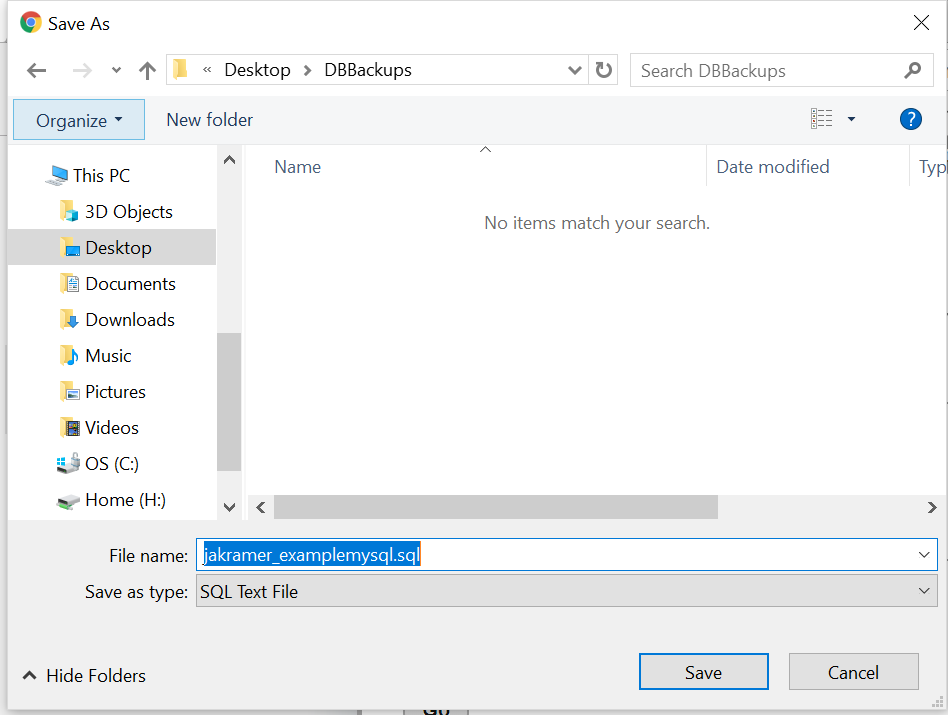
3. Your browser will prompt you to save the backup file. This step will depend on your browser and settings, but on my system, it looks like this:
phpMyAdmin Restore
Using phpMyAdmin to restore your database
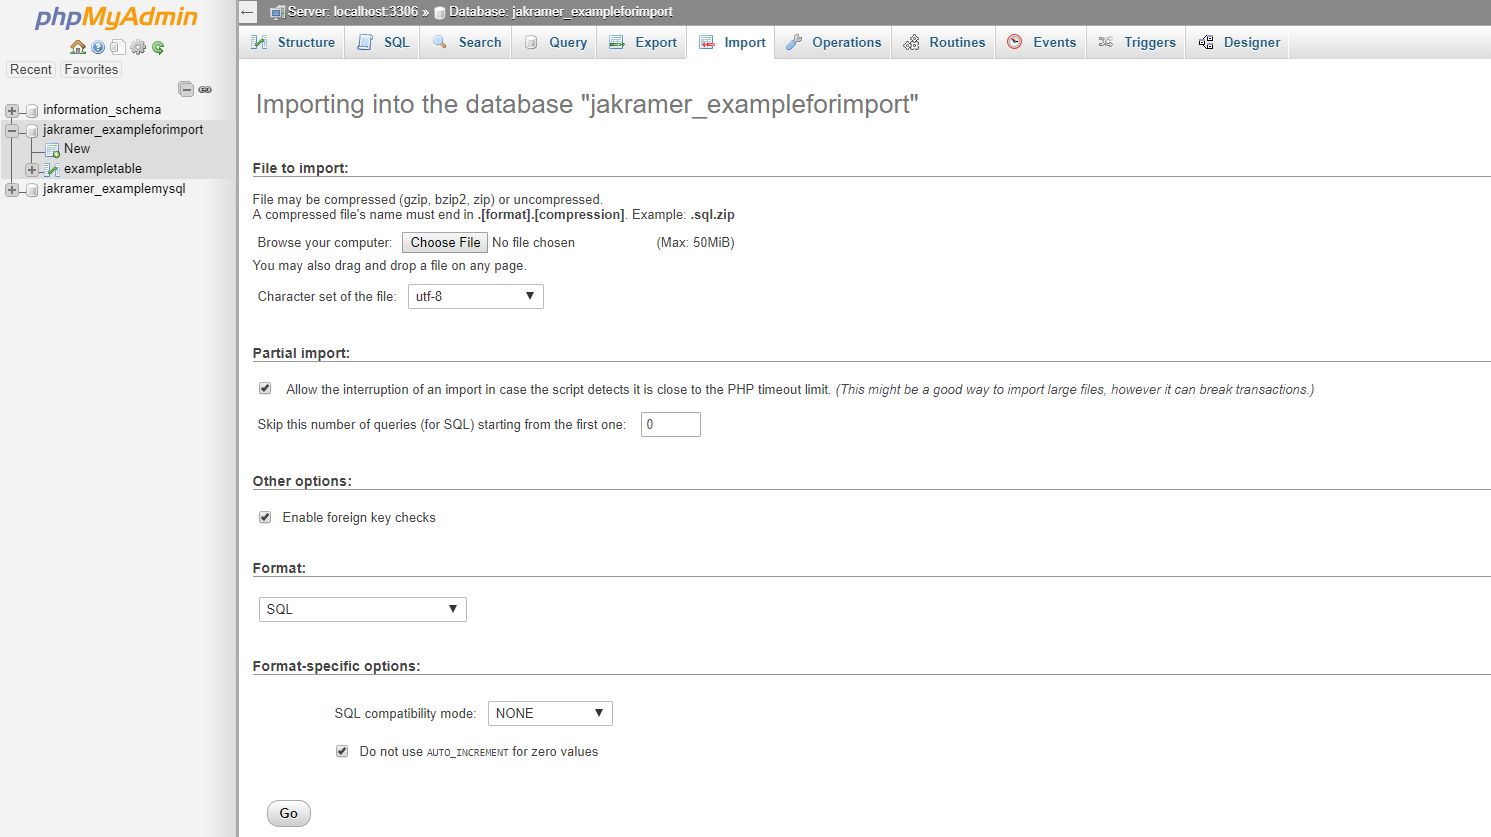
1. Visit phpMyAdmin and choose Import
2. Browse for you file and verify the settings, then click Go
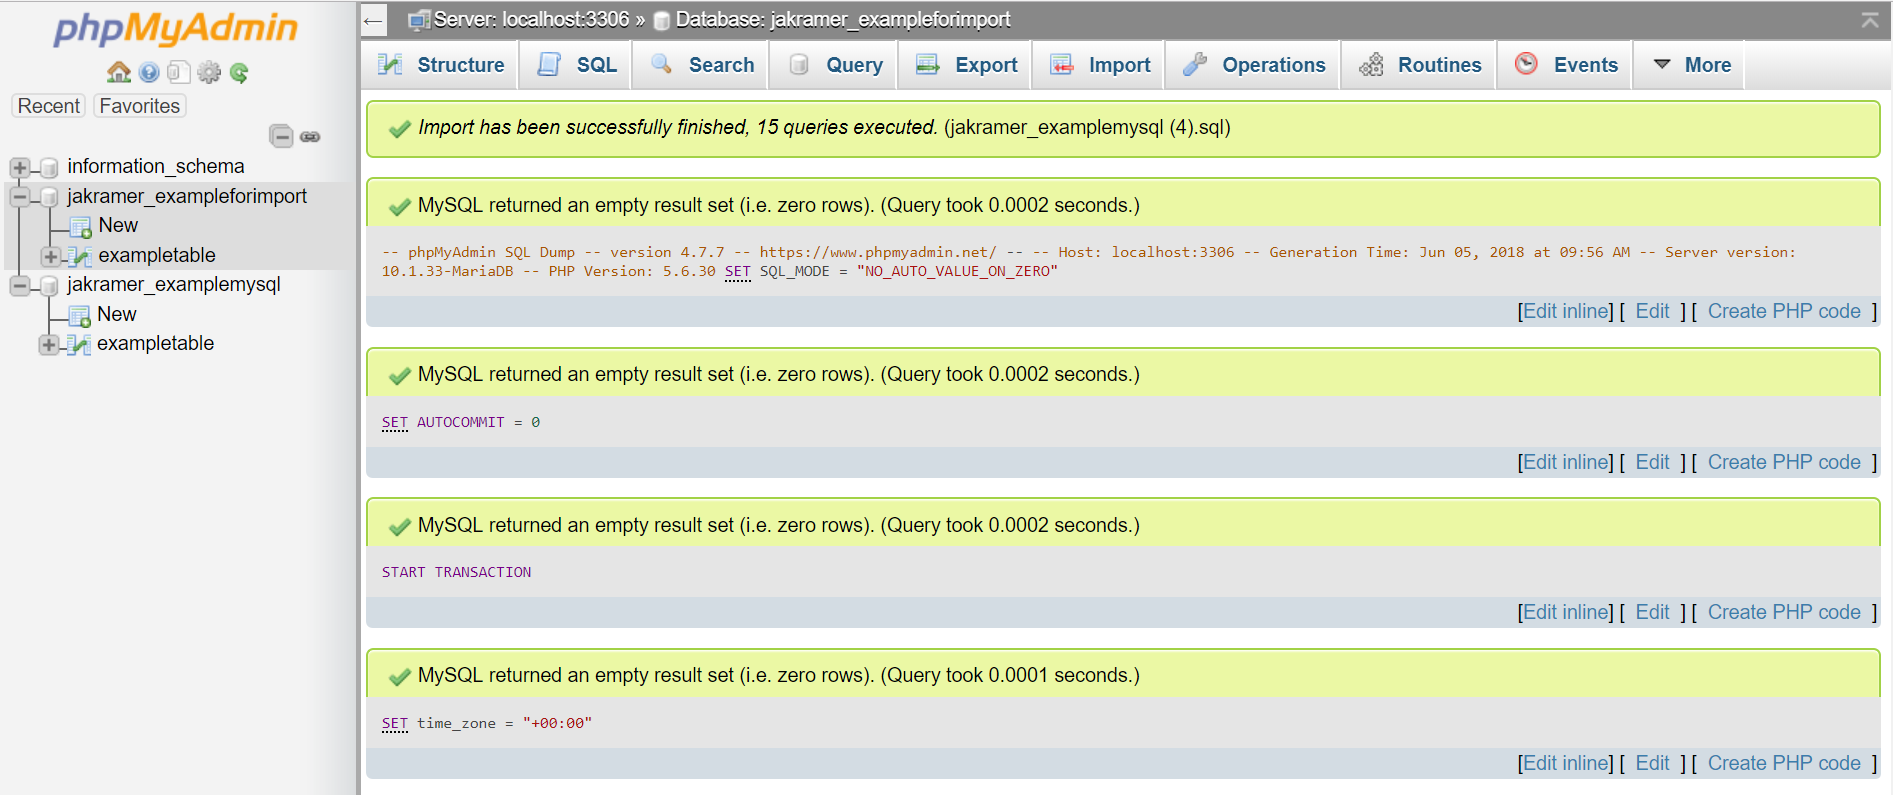
3. Check your results for any errors
Using phpPgAdmin to back up and restore your PostgreSQL database
phpPgAdmin Backup
Using phpPgAdmin to backup your PostgreSQL database
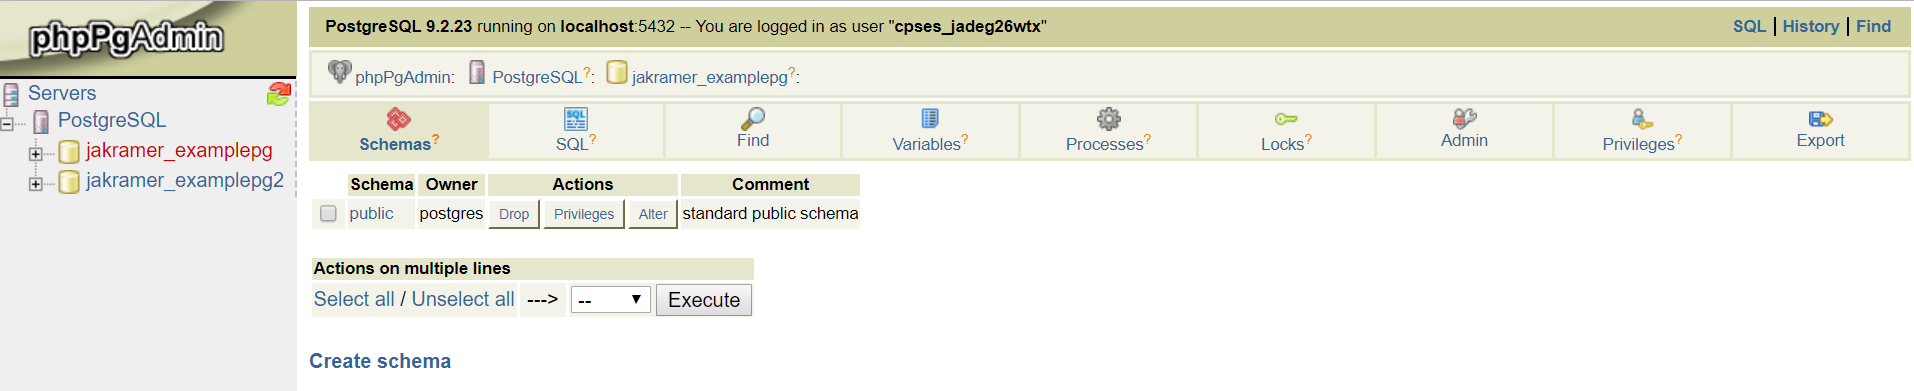
1. Click Export to backup your database to a downloadable file
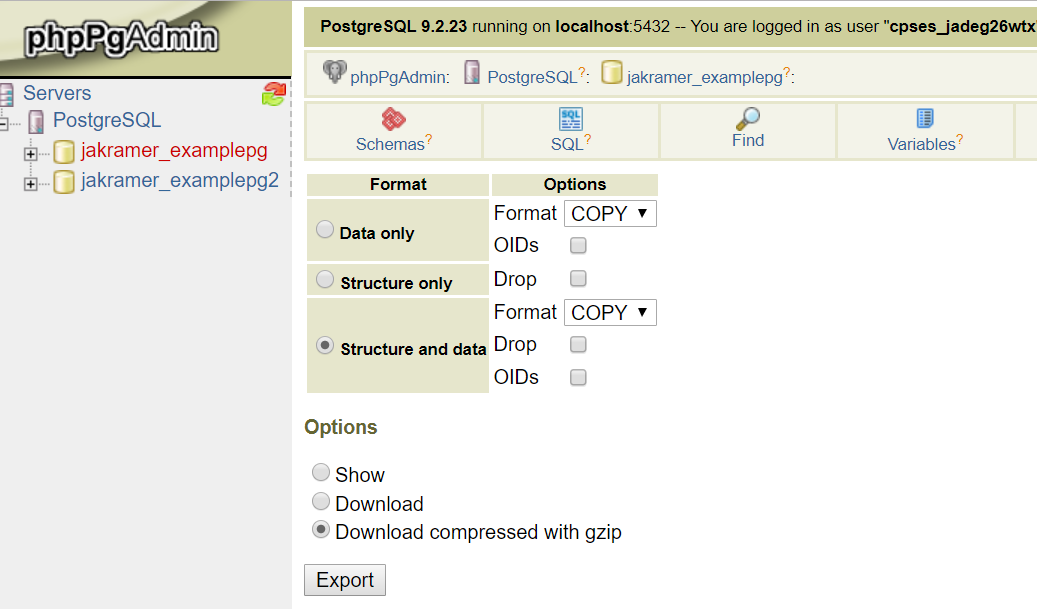
2. In most cases select "Structure and Data," select your download format and click Export.
3. Save your downloaded file to a safe location on your local machine or copy to Box or other alternate storage location.
phpPgAdmin Restore
Using phpPgAdmin to restore from your database backup
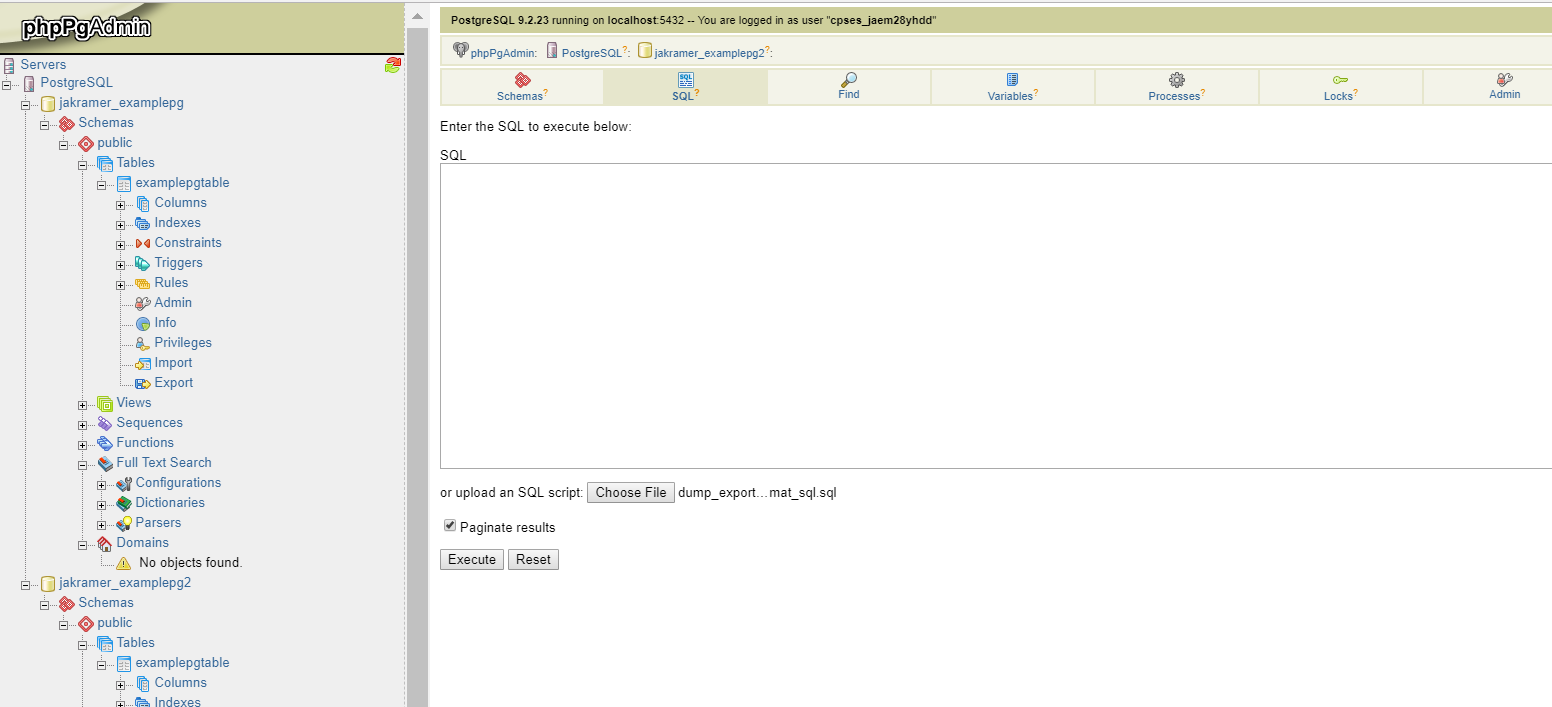
Choose SQL from the toolbar, browse for your file, and click Execute
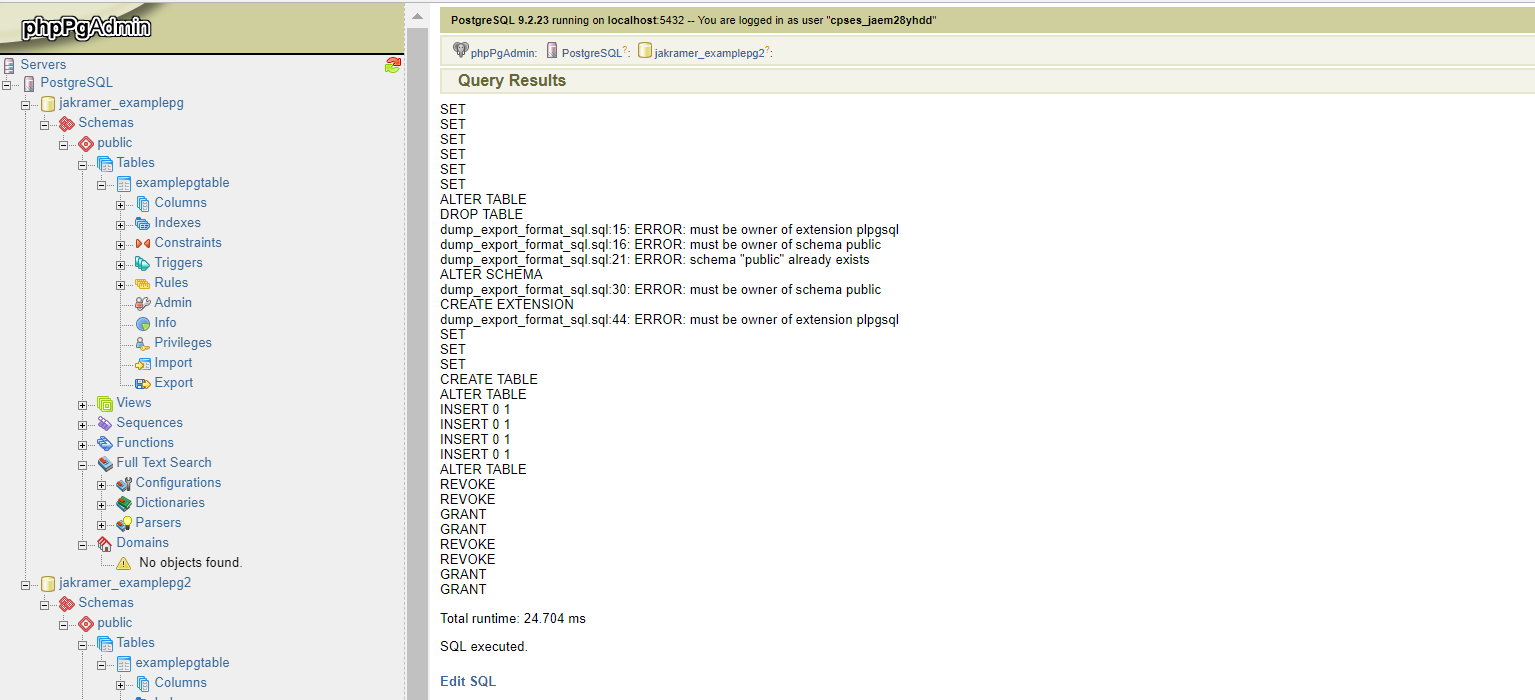
Results
Database backup and restore from the commandline
There are some cases for which command line backup might be a good option. One example is databases that are very large. If your database backup file is greater than 50MB, you will not be able to upload the file to phpMyAdmin or phpPgAdmin. Another example is if you want to script regular backups of your databases.
commandline mysql backup and restore
#Backup jakramerexample database to file jakramerexample.sql as user jakramer_examplemysql

$mysqldump -u jakramer_examplemysql -p jakramer_examplemysql > jakramerexample.sql

Enter password: ***************


#Restore jakramer_example.sql to database jakramer_examplemysql2 as user jakramer_examplemysql2

$mysql -u jakramer_examplemysql2 -p < jakramerexample.sql
File System Backups
Creating your own file system backups
Using File Manager
Making a backup with File Manager
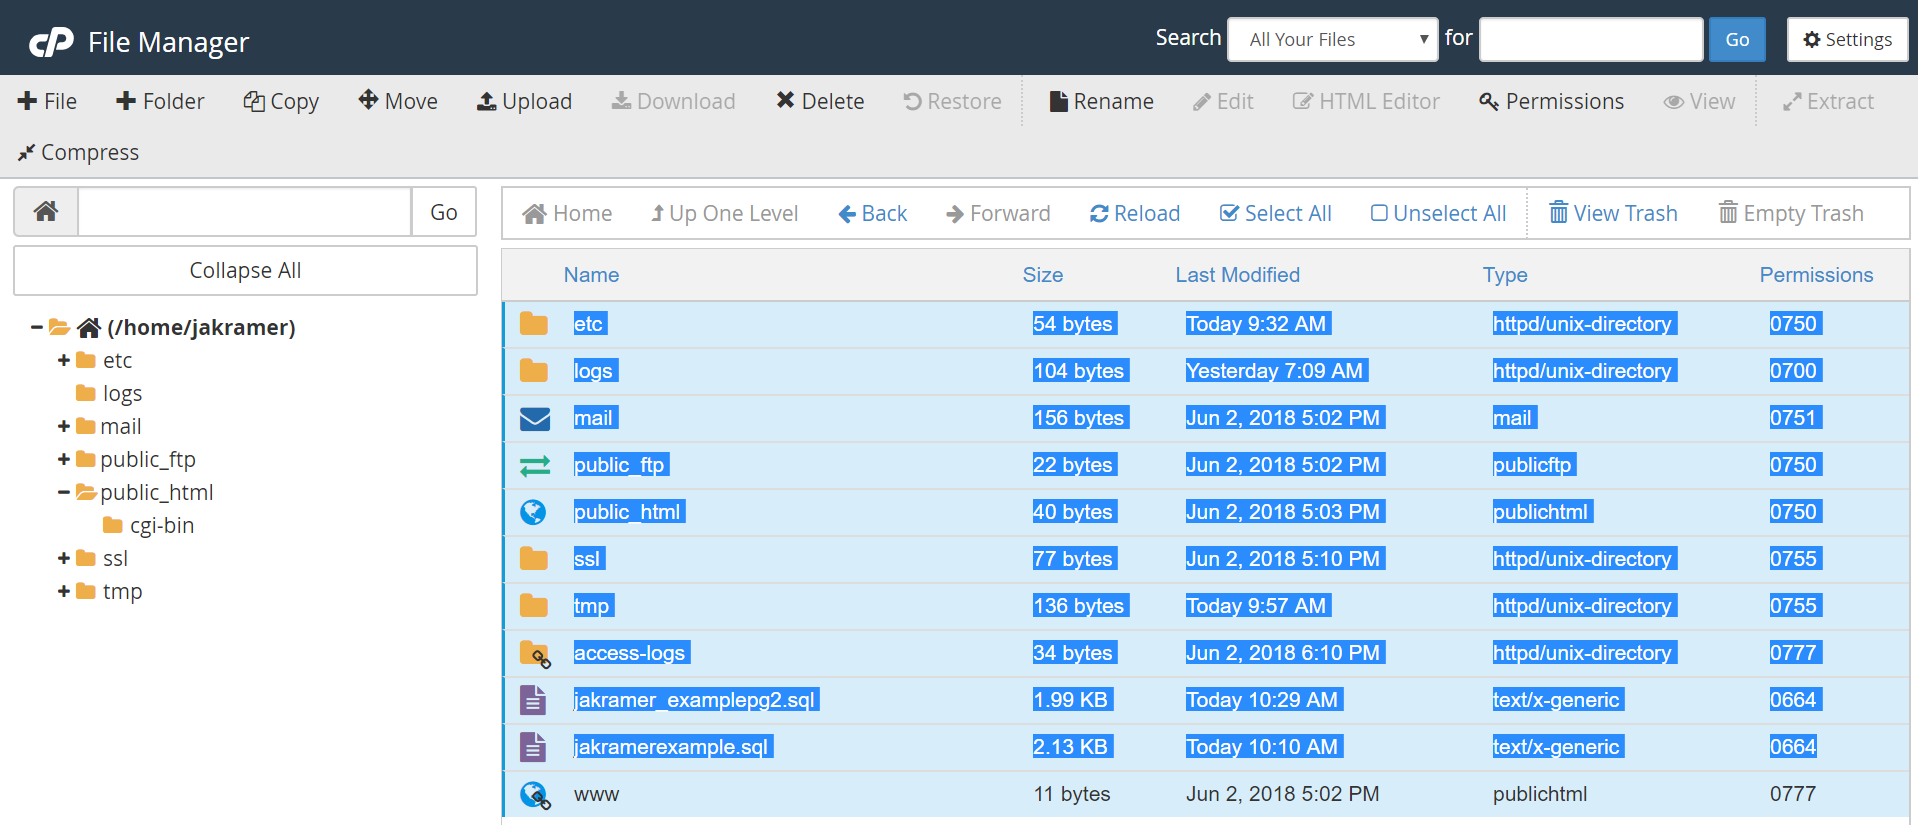
1. Open the File Manager from your cPanel Dashboard and select the files you would like to add to your backup archive
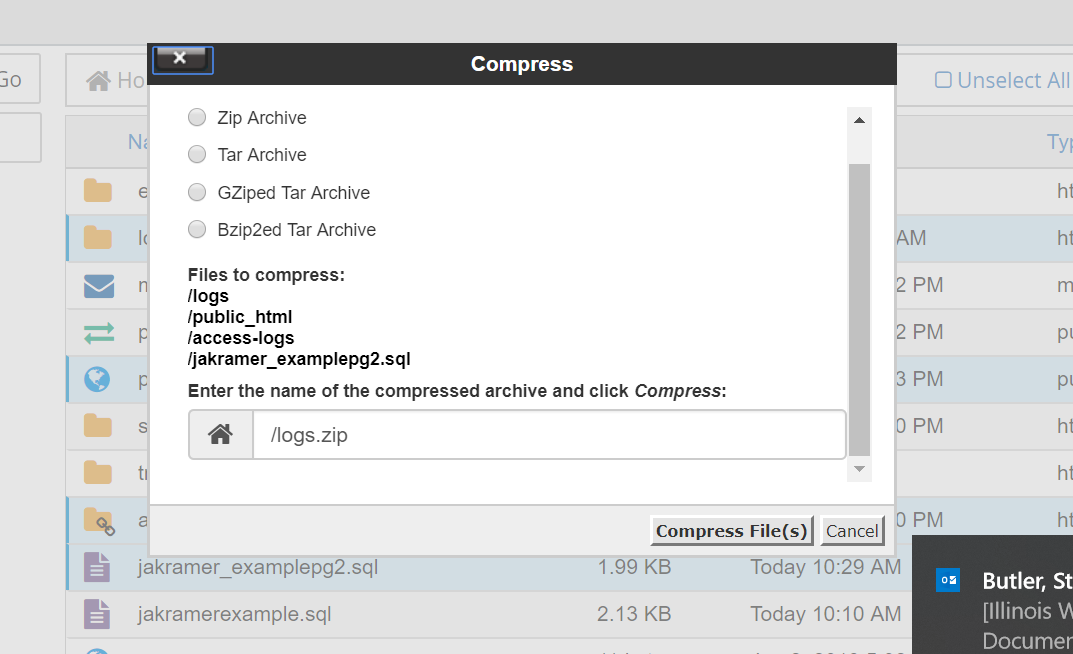
2. Click Compress in the tool bar, select your format, and name your backup file
3. (Optional, but recommended) Download the backup file you created and store it on your local machine or an alternate location like UofI Box.
Making a filesystem backup from the command line
System Backups
The service team maintains system backups for disaster recovery purposes. These backups cannot be used for individual file restoration. Content backups are strictly the responsibility of the content owners.
- AWS Snapshots - nightly, for recovery of the entire web.illinois.edu host in case of catastrophic failure
- Configuration Backups - nightly, for recovery on host configuration in case of misconfiguration